1RegretBeetle
Shmup/STG Controller Options for Switch
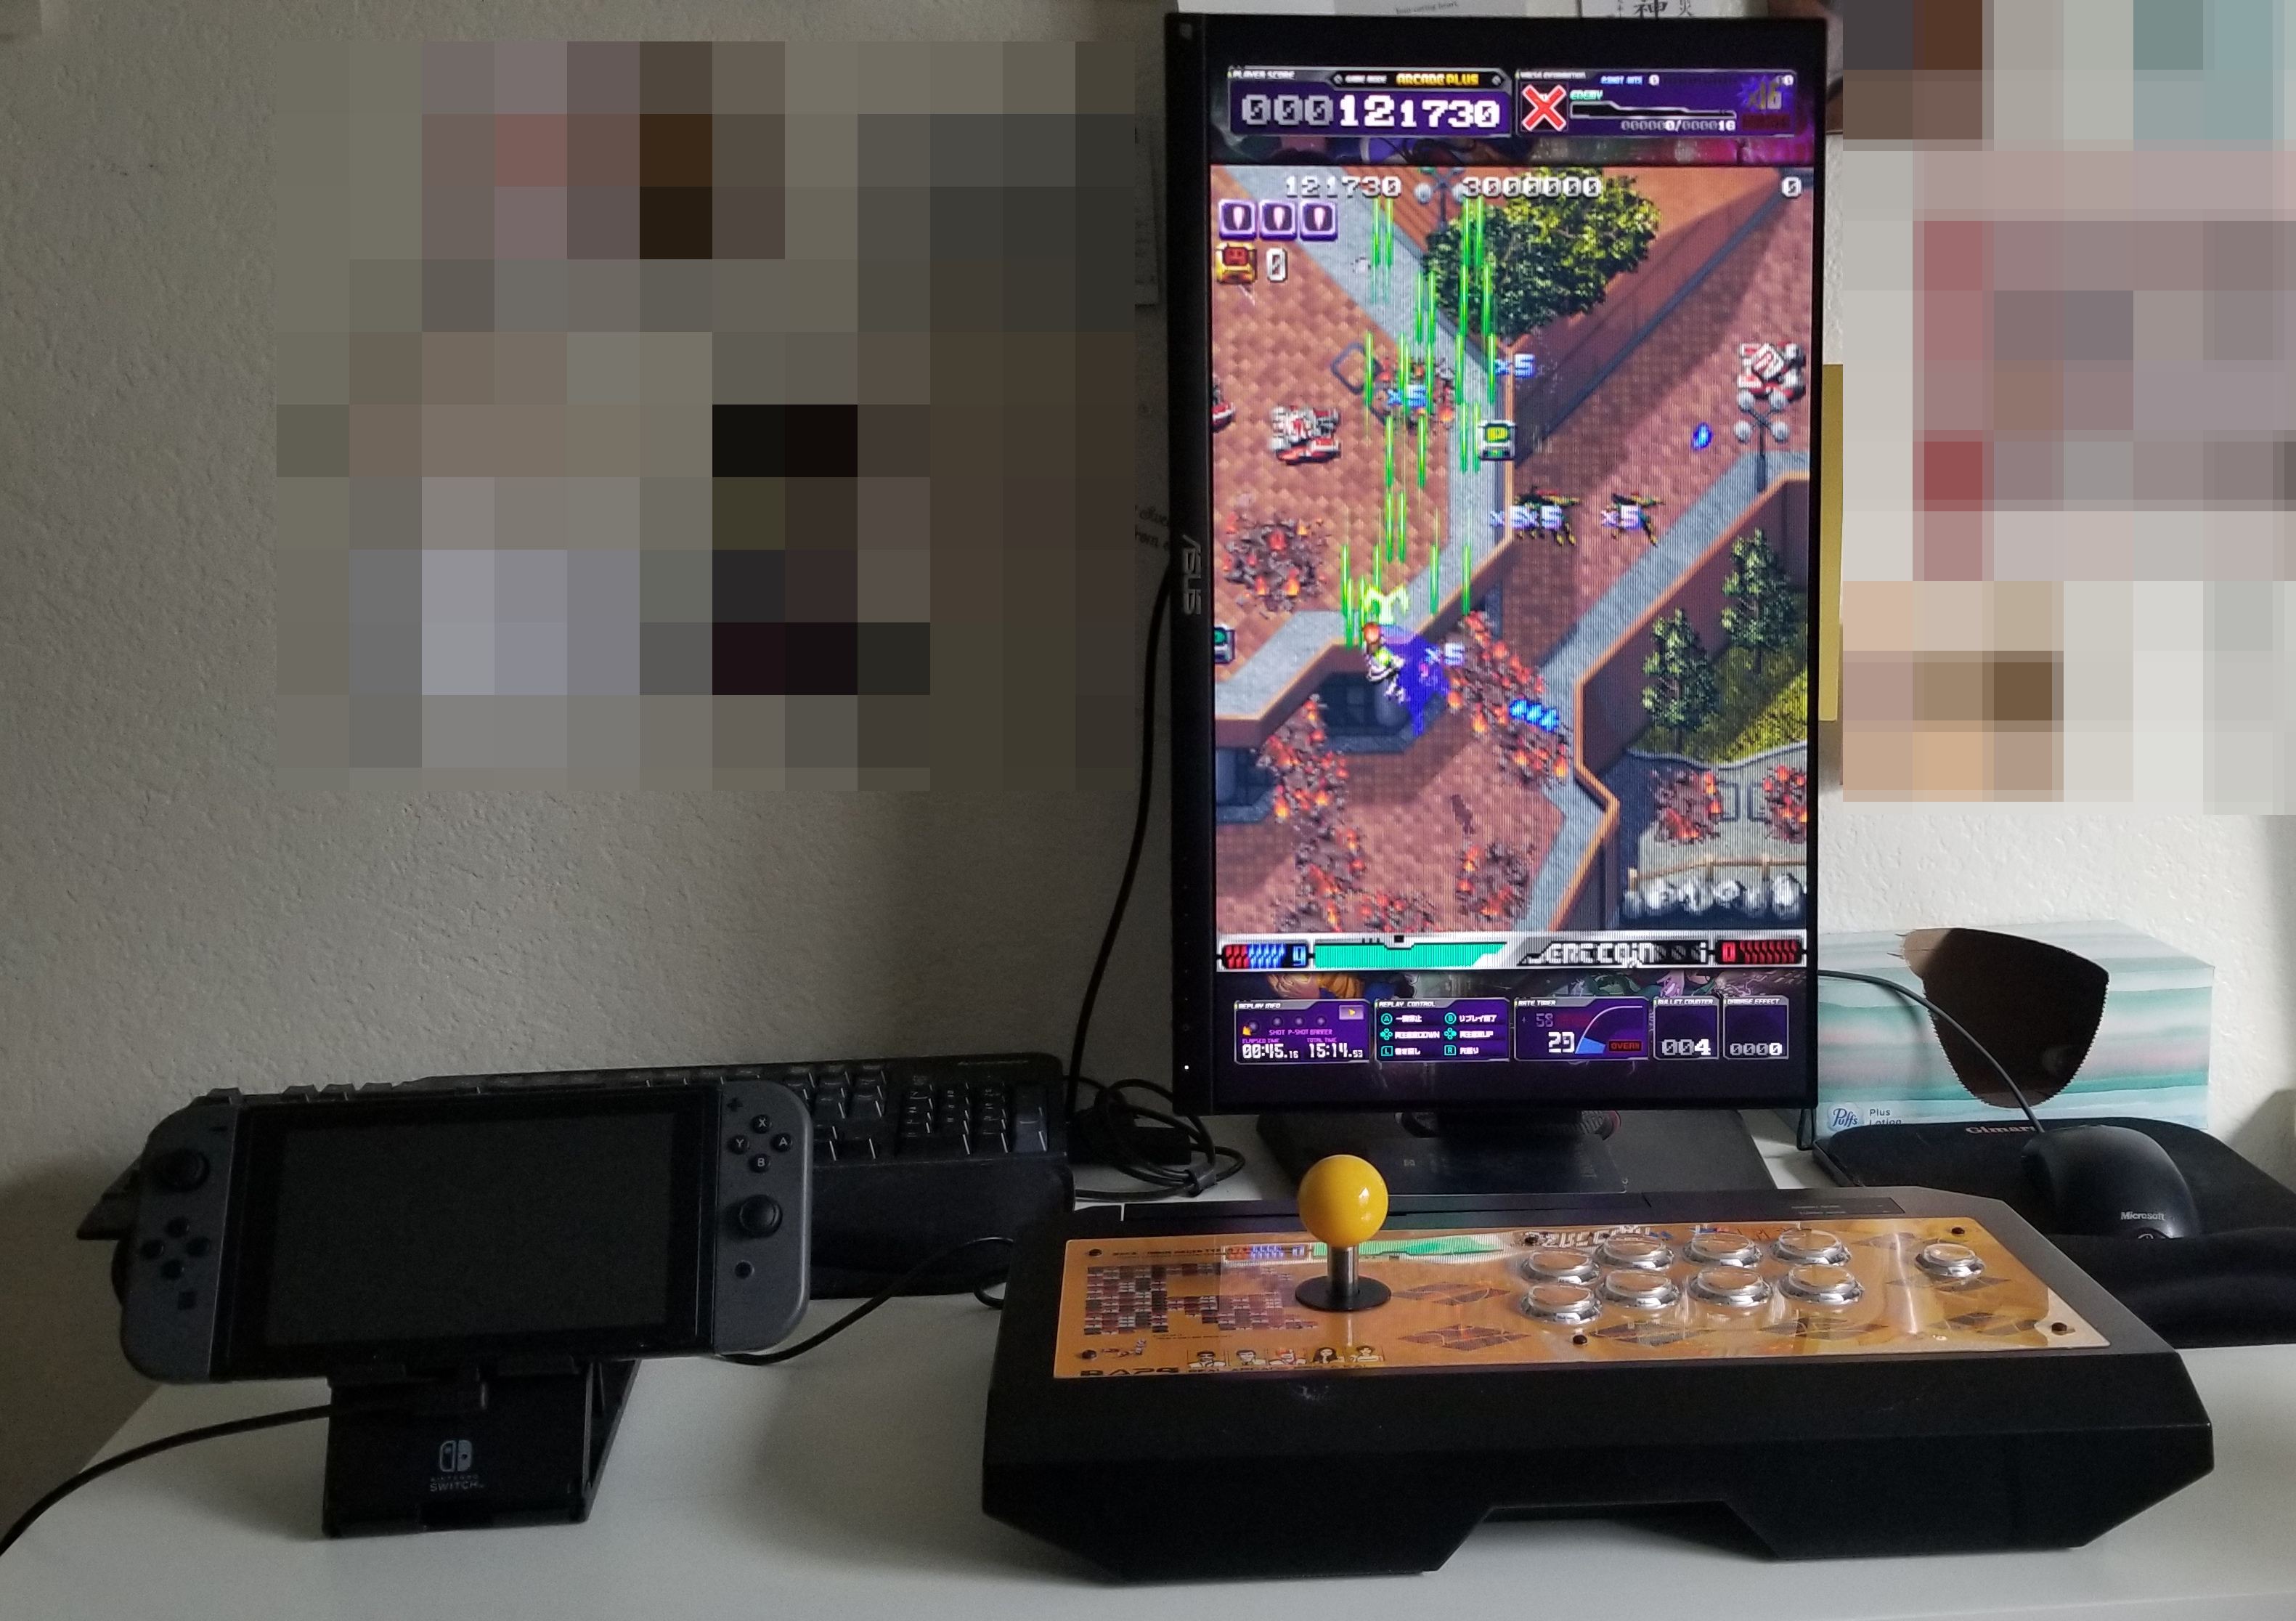
Read on to learn about optimal Switch-style shmupping!
My recent interest in the arcade shooting game genre (abbreviated as STG or Shmup) has led me to investigate the variety of control options available for the Nintendo Switch. The Switch has received a host of high-profile STG/Shmup releases over the past few years, so it seemed like a natural platform to explore. Being a hybrid console, it also offers the ability to play vertically-scrolling games in the “TATE” (read: vertical) orientation on-the-go, which I found particularly enticing.
After trying out many different hardware options for Switch-style shmupping, I wanted to share some of my findings and preferred set-ups for the handheld, tabletop, and docked-style of play. I’ll break down the products I’ve tried and my preferences in three separate sections below, one for each style. I hope that this post can be informative for those who want explore the genre on this platform.
Handheld
Be ready to compromise.
Perhaps the most disappointing result of my investigation into playing in handheld mode is that using the TATE orientation comes with significant compromises. This goes hand-in-hand with the FlipGrip, a product that was heavily marketed for this exact purpose. It does its job, but with some major caveats.
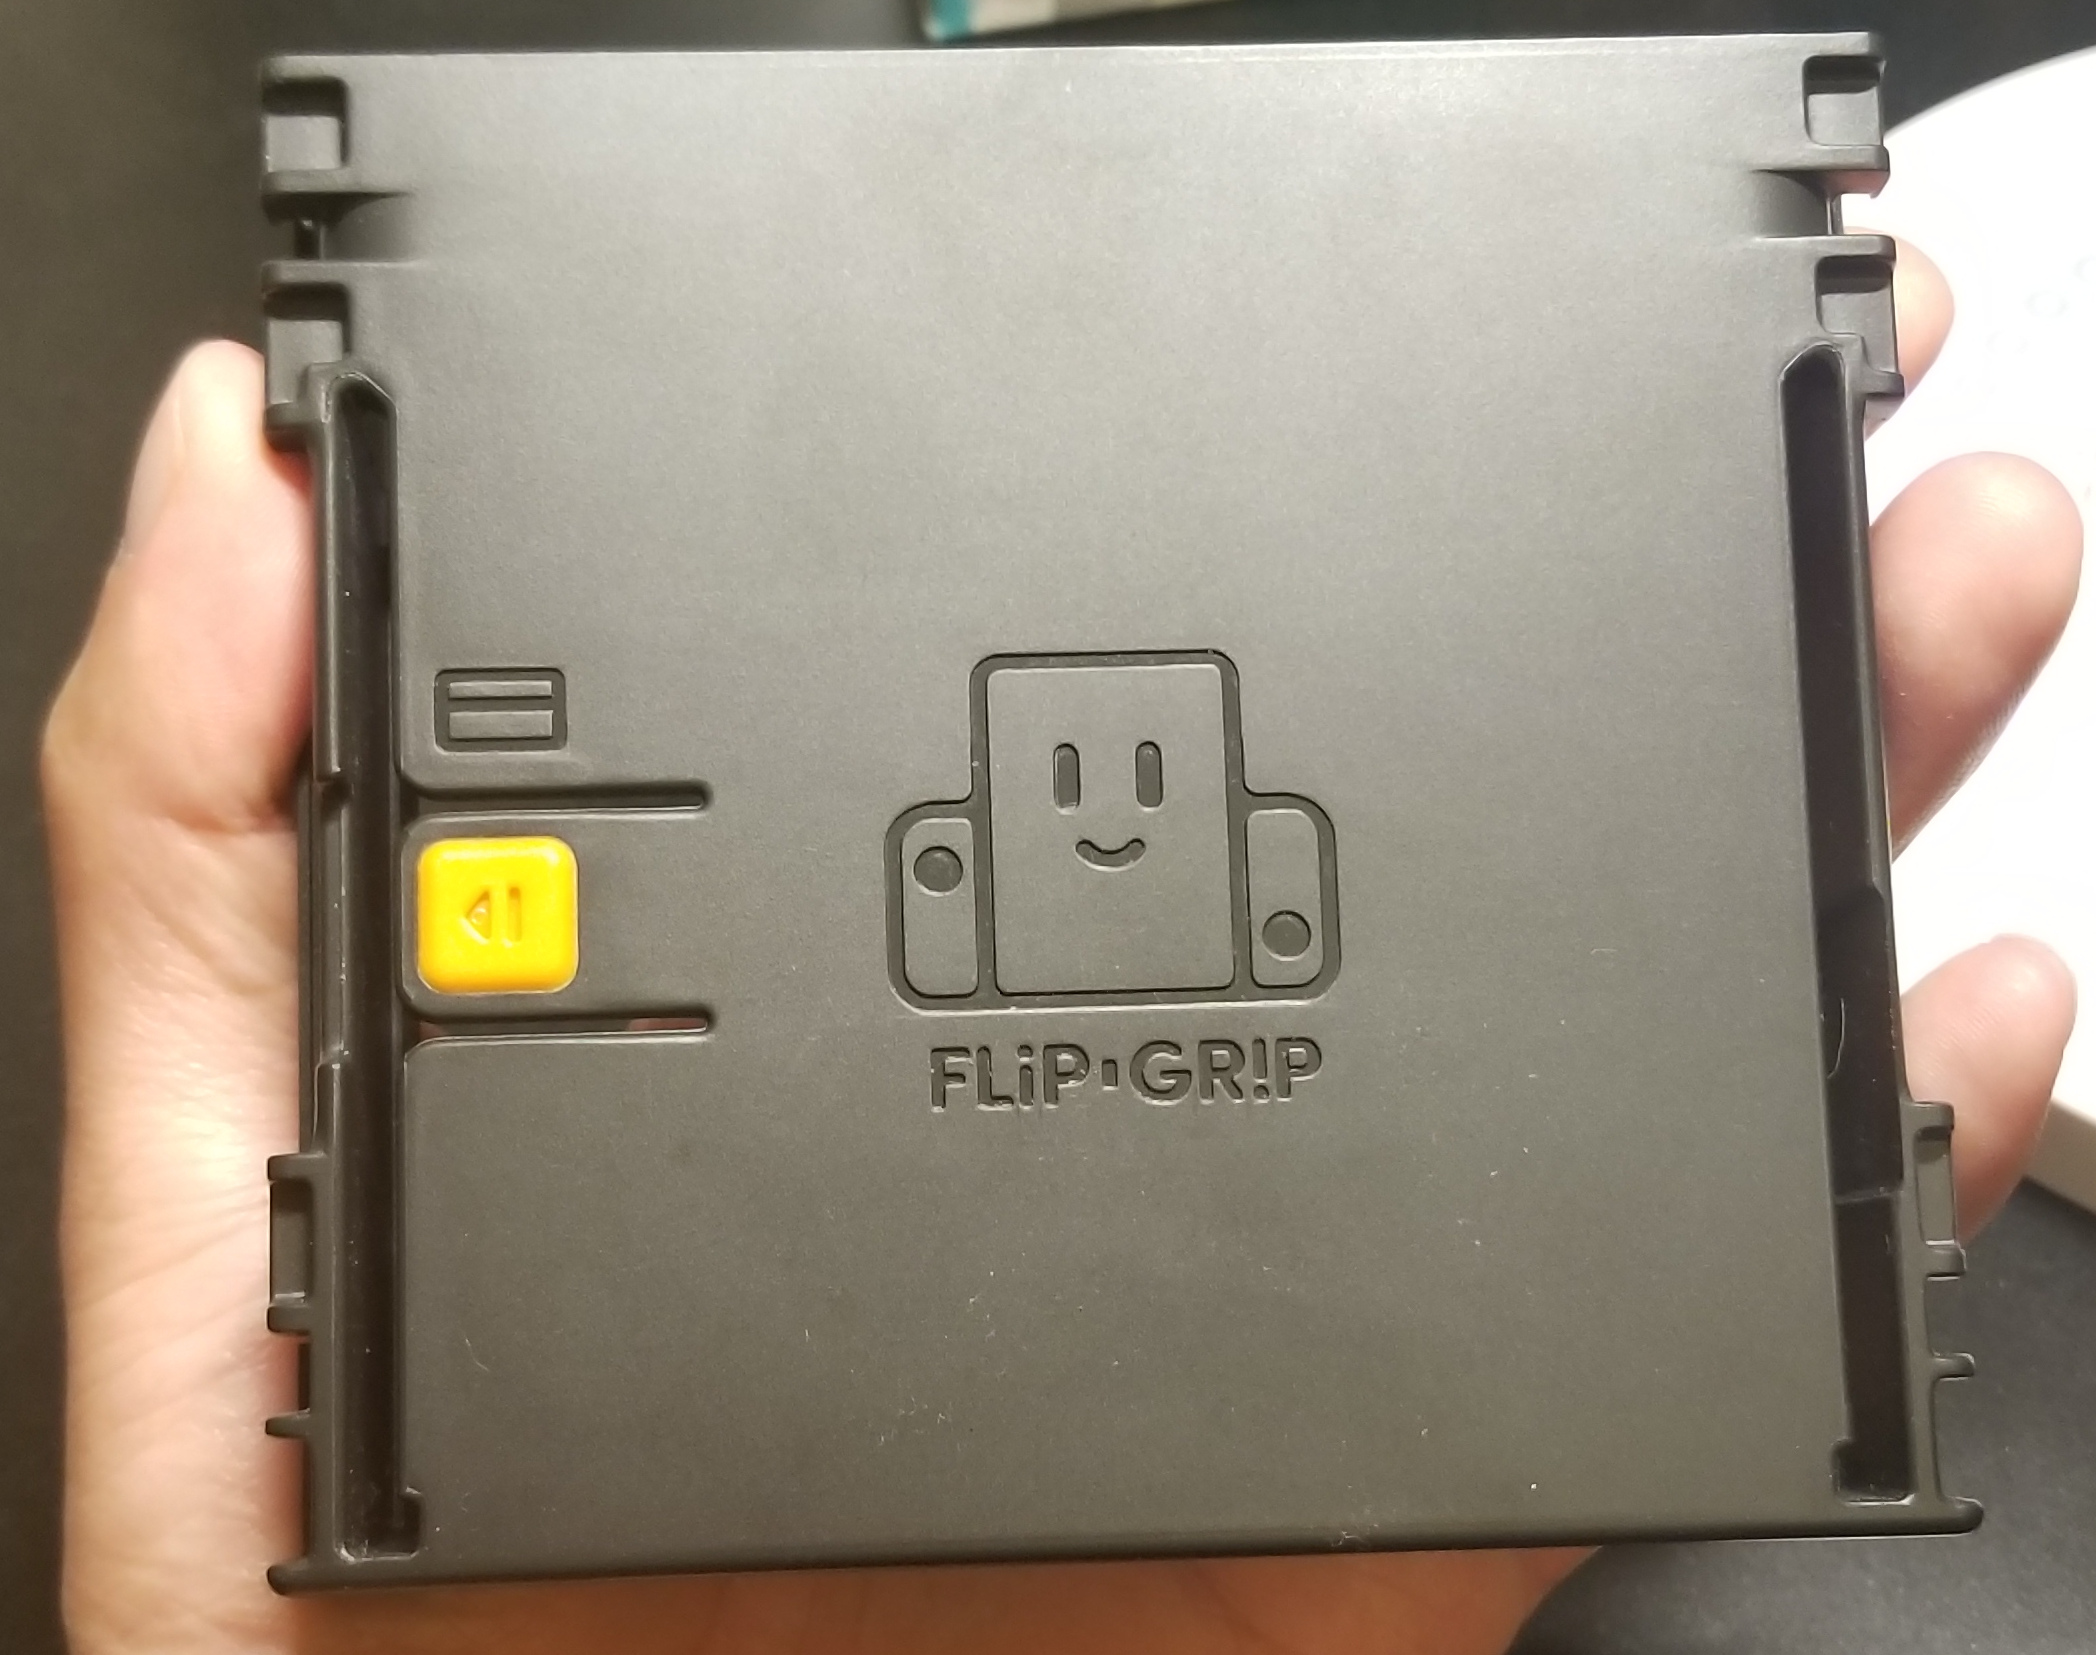
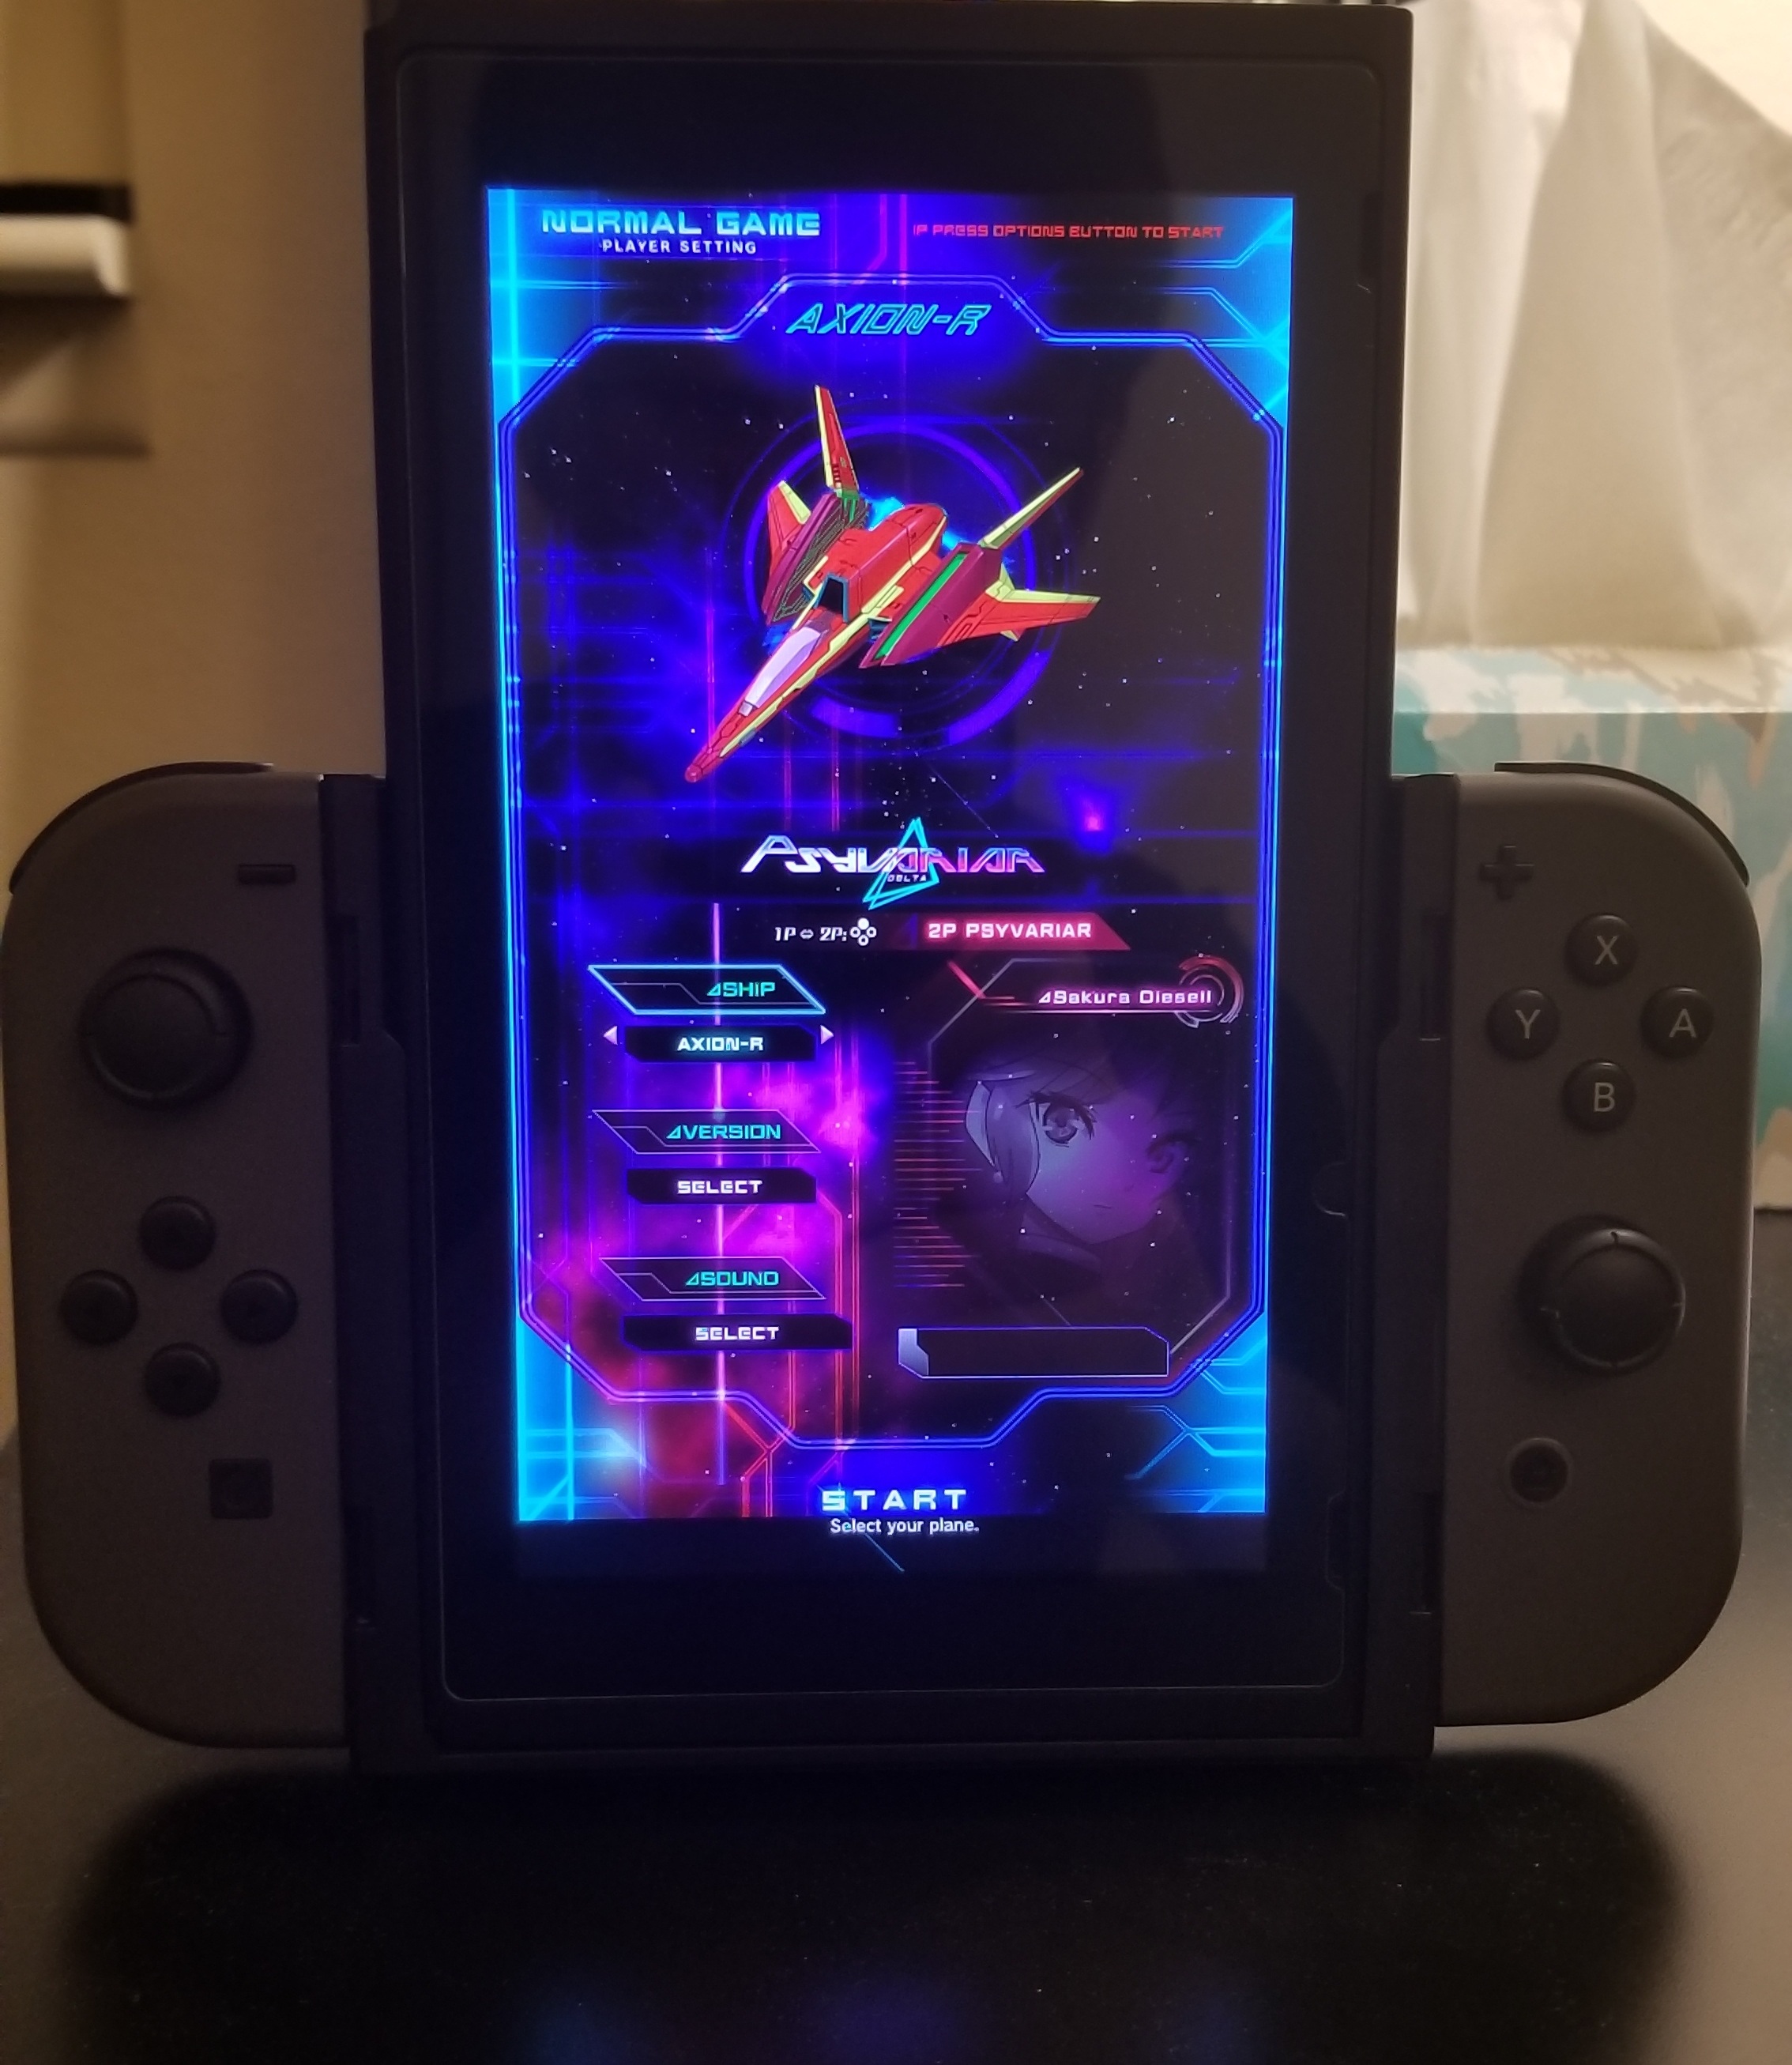
I have detailed my thoughts on the FlipGrip in a previous post. To summarize it briefly, the FlipGrip requires wireless controllers with a joycon rail attachment for compatibility. Unfortunately, this means sticking with the original Joycons (which lack a d-pad and have analog sticks prone to drifting), or using a third-party Chinese clone. Rails-only controller options with no wireless functionality (such as the Hori D-pad (L) Joycon or the Split Pad Pro) are sadly off the table.
Obviously, these control options are less than ideal for playing a shmup. Analog sticks are an objectively inferior control-scheme for games which are based around digital movement, and there isn’t an easy way to get a functional d-pad onto a wireless joycon-like controller at this moment. I’ve heard OK things about a select few joycon clones that have d-pads, but the lack of in-depth coverage and quality assurance has really kept me from taking the plunge.
Joycon d-pad shell mods are also an option, which guarantee that the base controller quality is sound (being an official joycon and all). However, this option does not allow for a traditional d-pad “pivot”, and it’s thus possible to press all four directional buttons at the same time. I think this is a better option than going with a clone-controller, but I’m not sure if the money and mod time is worth yet another compromised control scheme.
The FlipGrip is not completely at fault for the issues listed above. Rather, there are simply no convenient or readily-accessible options for joycon-styled controllers with an enthusiast-quality d-pad. Time will tell if the true potential of the FlipGrip is unlocked in the future.
So, what is my preferred option for handheld mode?
Honestly, it’s hard to say. For the most part, I avoid handheld mode for the reasons listed above, and TATE just doesn’t seem feasible to me for serious play at the moment. However, for specific games or game modes where horizontal orientations are preferred, I like using my Split Pad Pro. The d-pad is a bit mushy for my taste, and its placement on the controller itself is not comfortable for extended play sessions. However, I prefer the tighter controls to the compromised options one must contend with using TATE mode. Unfortunately, this means my FlipGrip gets little use, but as I mentioned before this may change later.
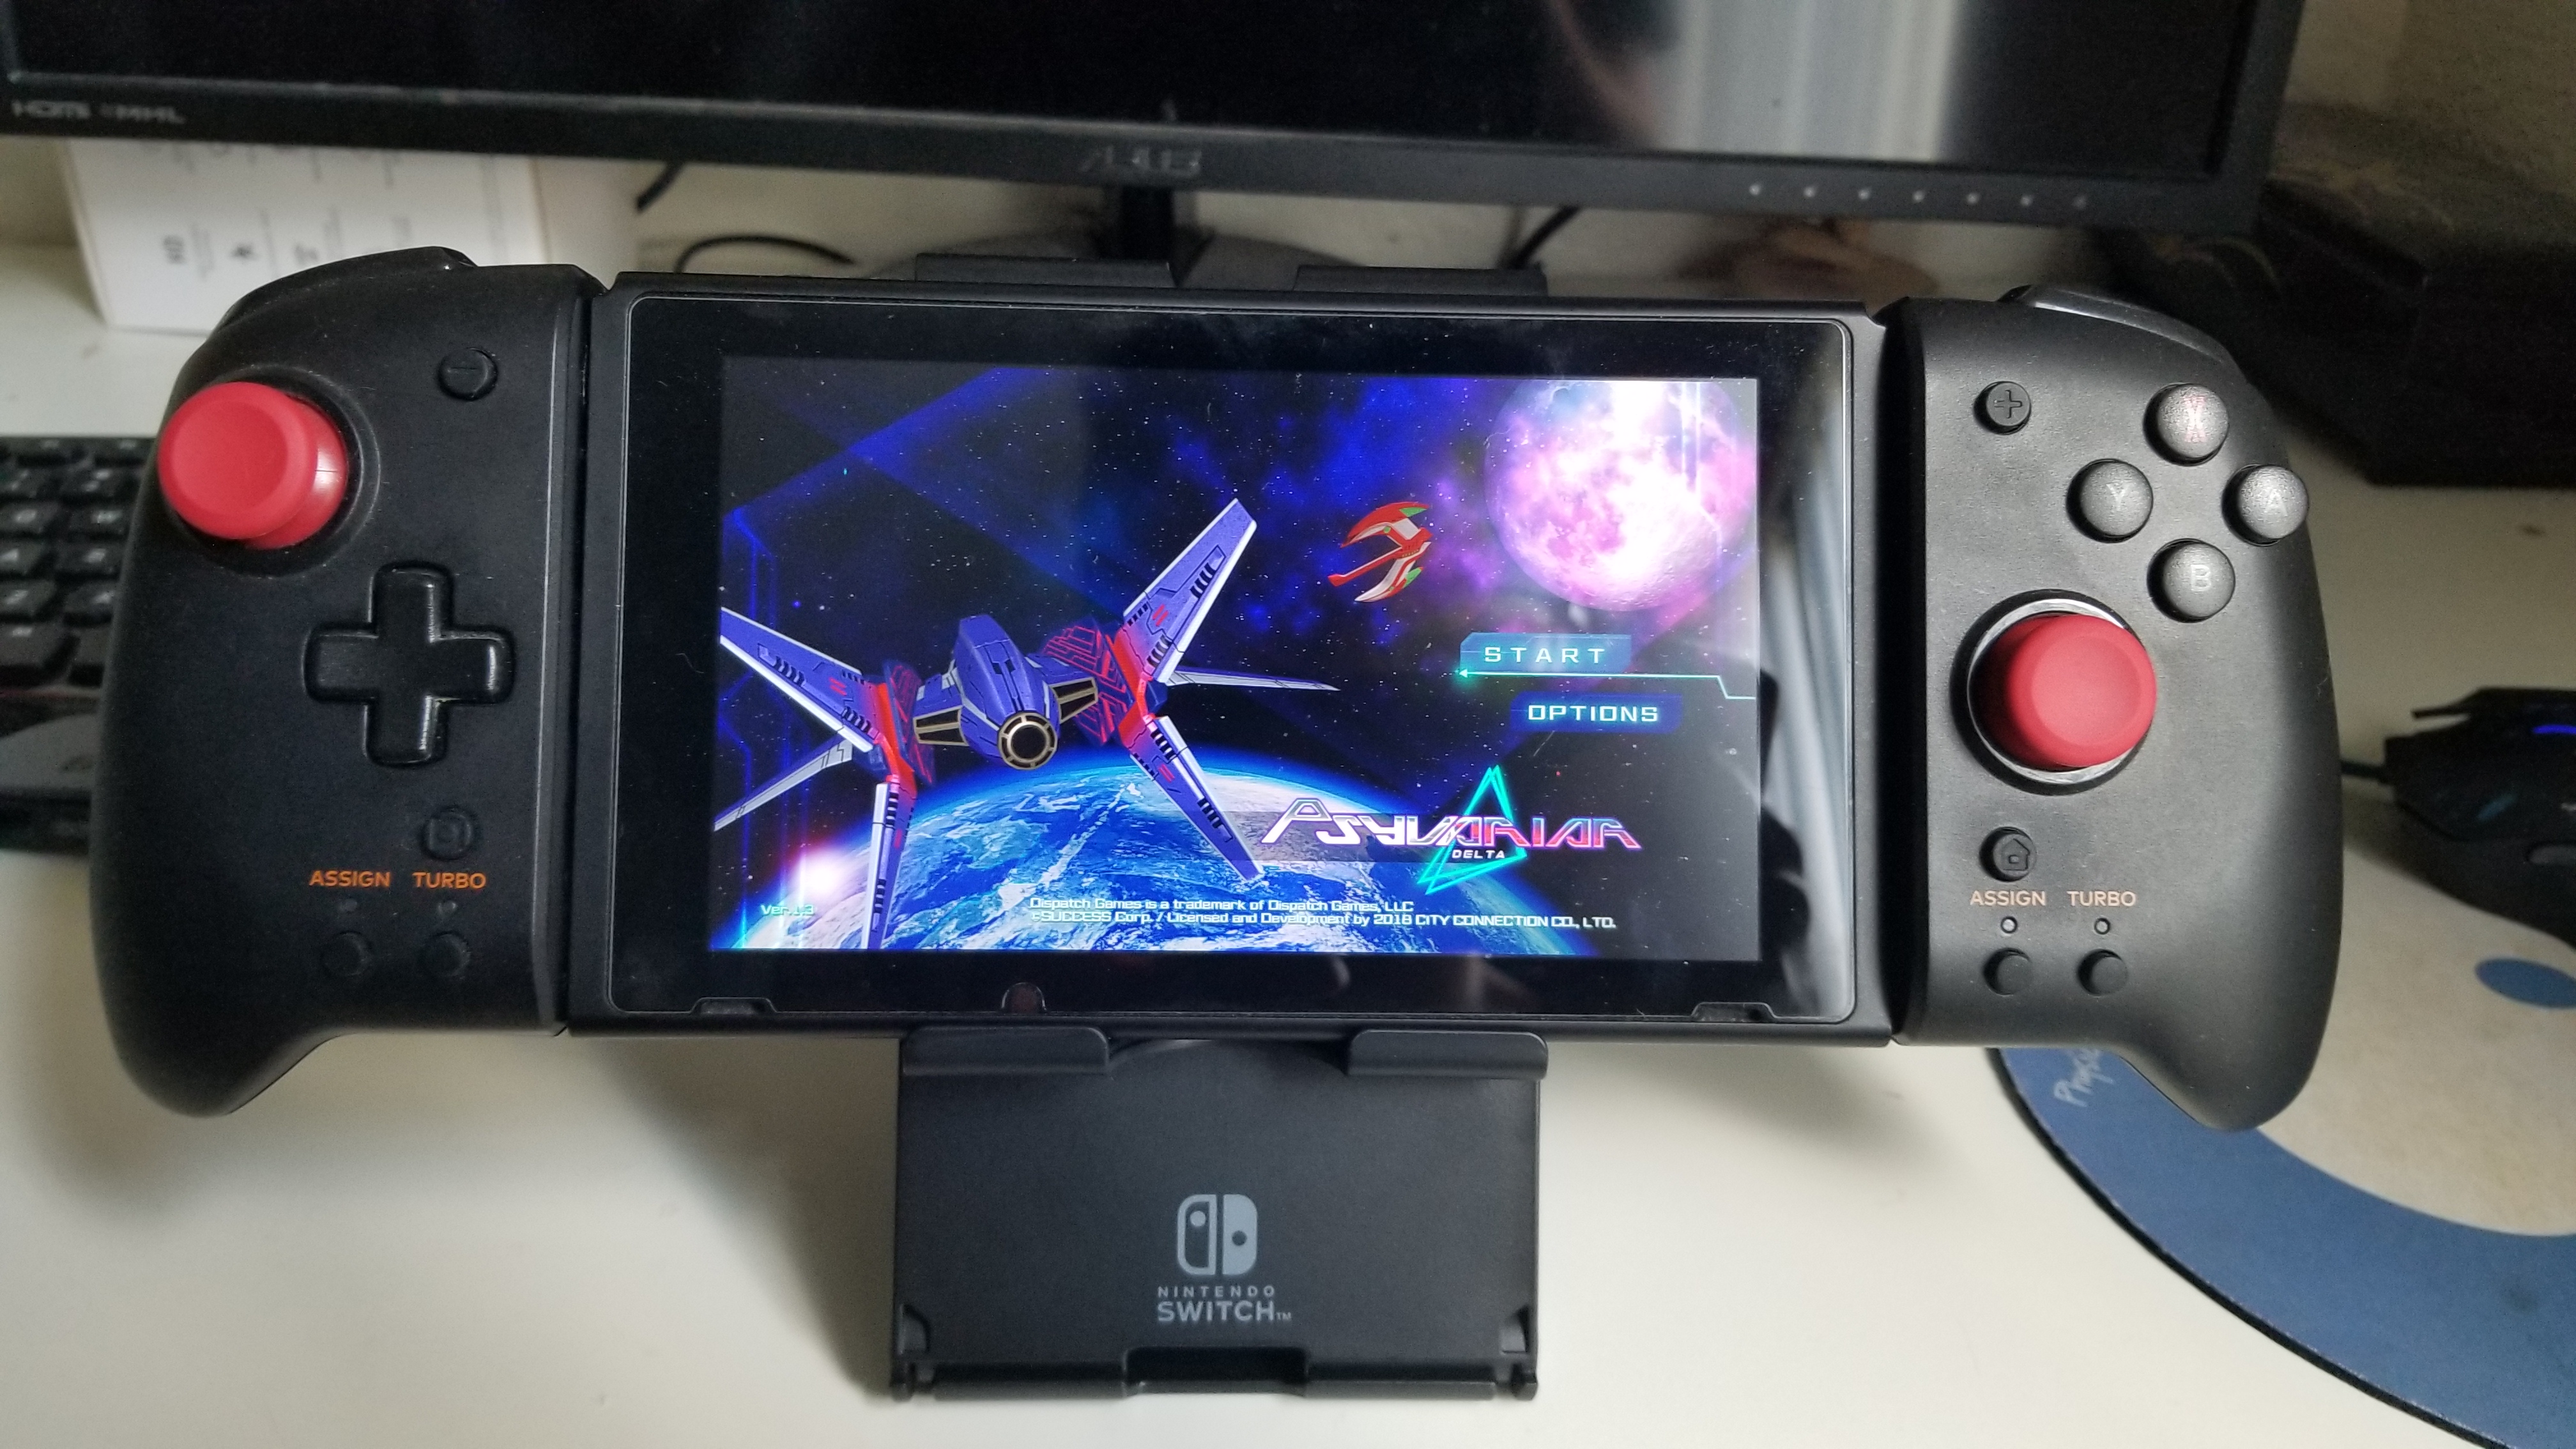
There’s also a great video by Mark_MXK of the Electric Underground going over these options. I would recommend giving it a watch if you want to learn more!
Tabletop Mode
Somewhat portable. Much more functional.
Now we are getting somewhere. Tabletop mode offers much more flexibility than handheld mode, for the sole reason that we now have access to the USB-C port. Many people don’t know this, but you can actually use that port to hook up a wired controller using a USB-C (M) to USB-A (F) converter.
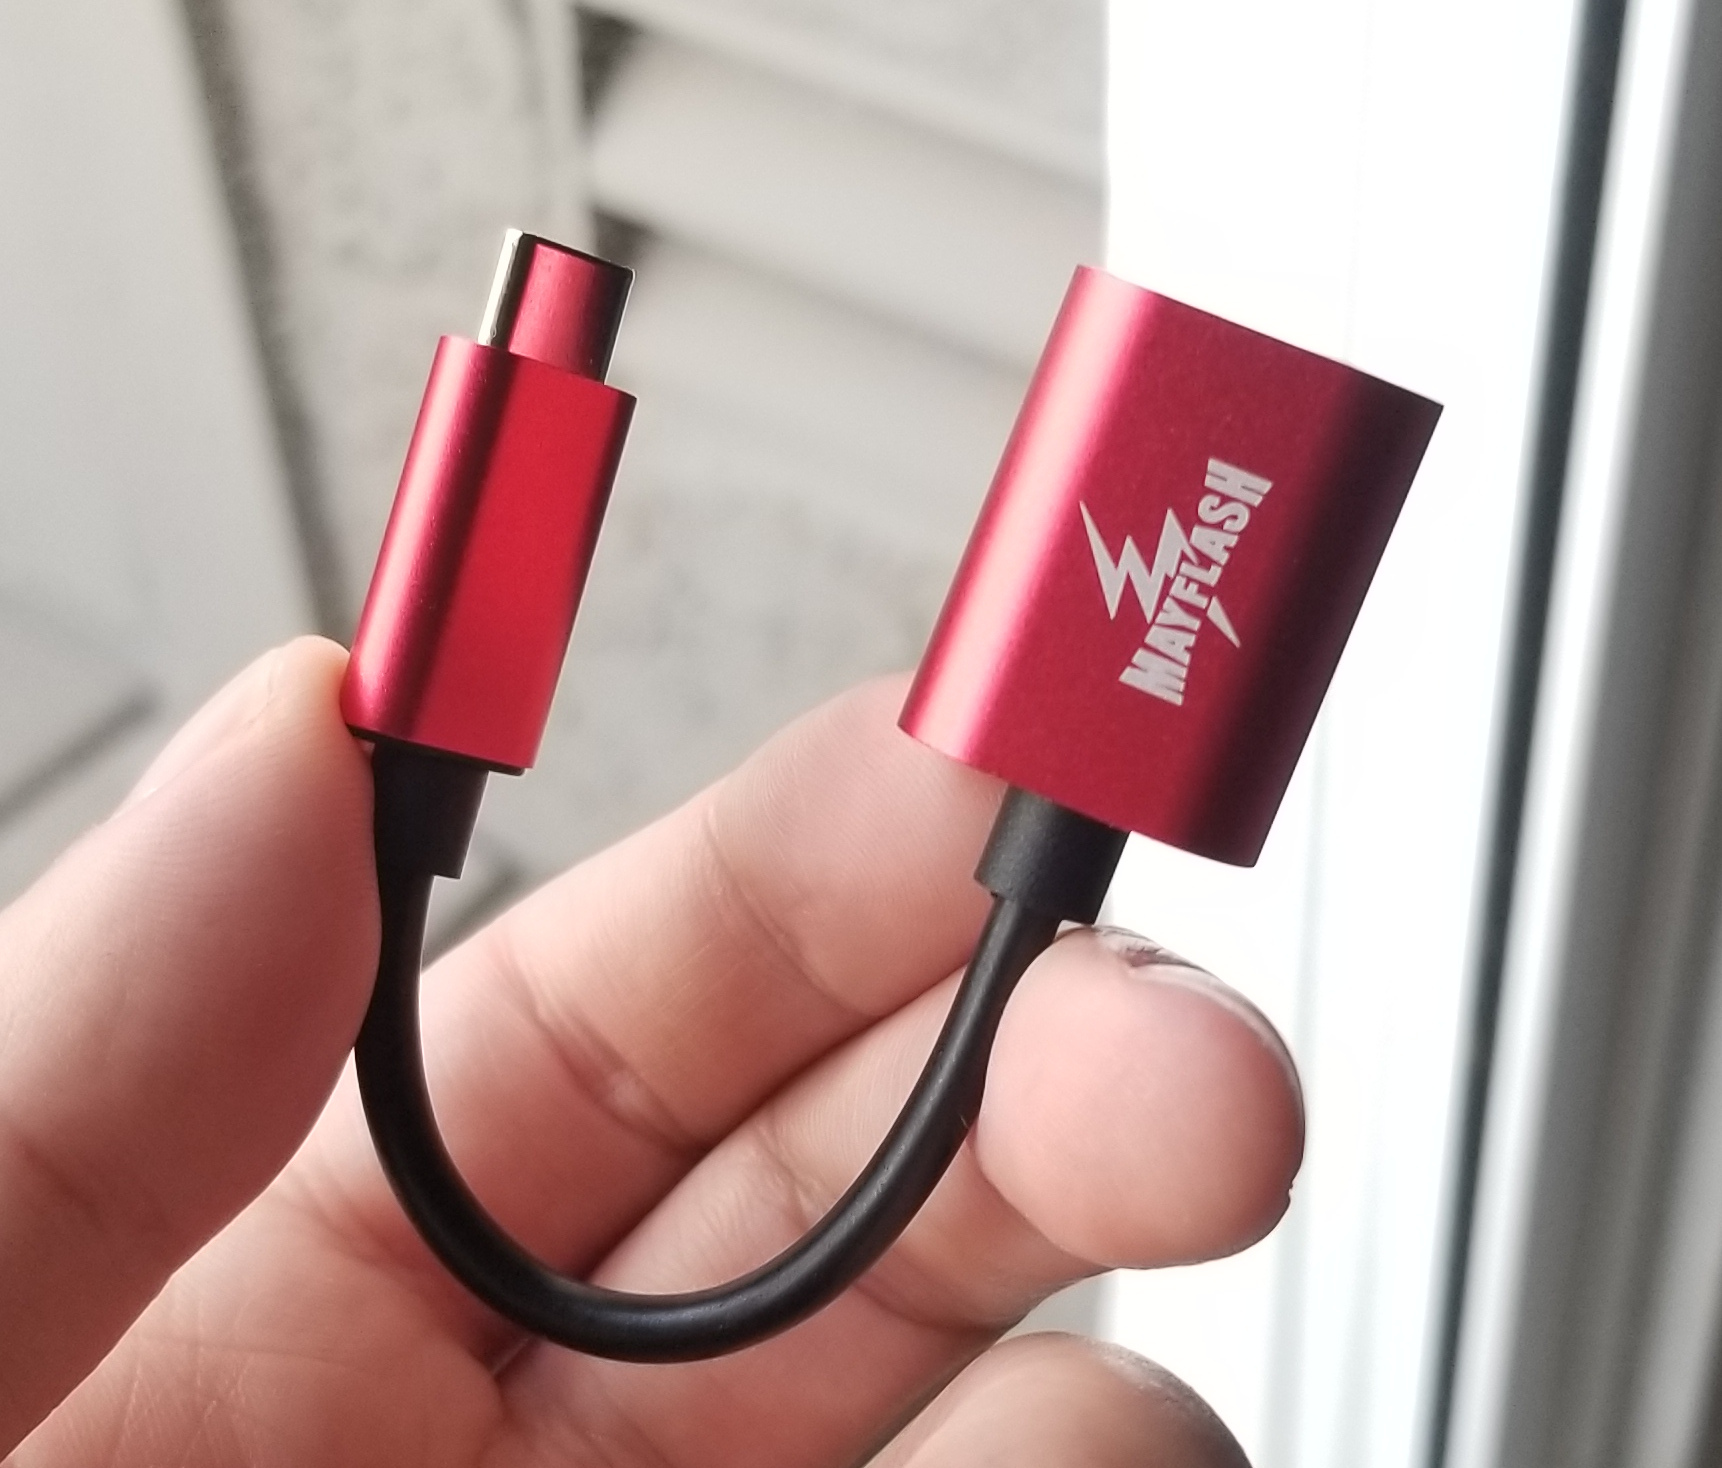 This is the converter that came with the MagicNS, for example
Using this method, one now has access to any Switch-compatible USB-A control option. Several of my favorites include the Retrobit 6-button Genesis and Saturn pads, which finally allow us to have access to a solid d-pad. These controllers also offer wireless options, both via a 2.4 GHz USB-A receiver or Bluetooth.
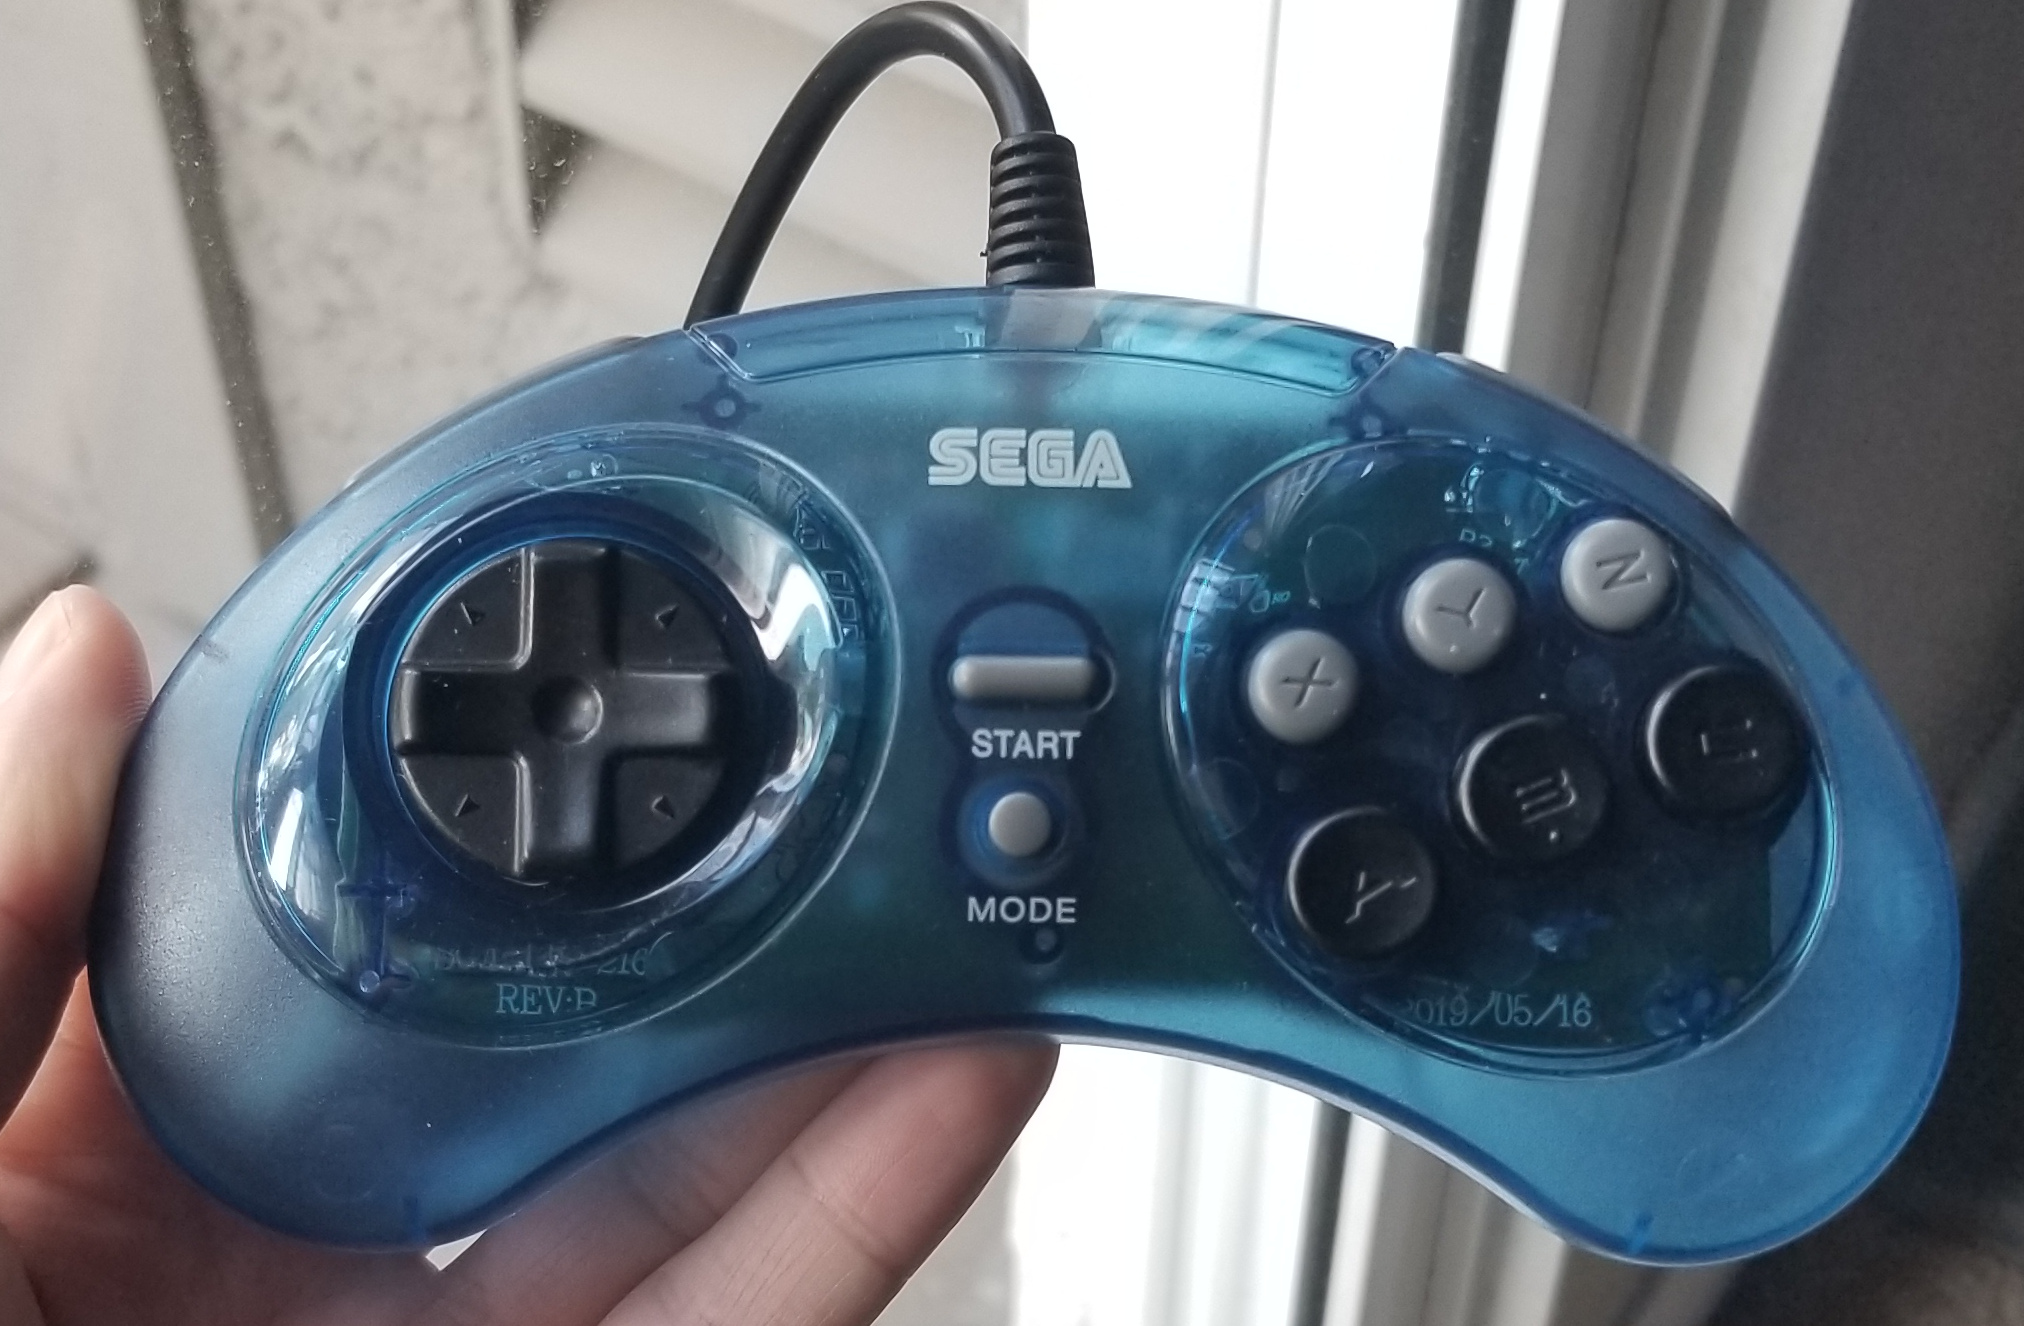
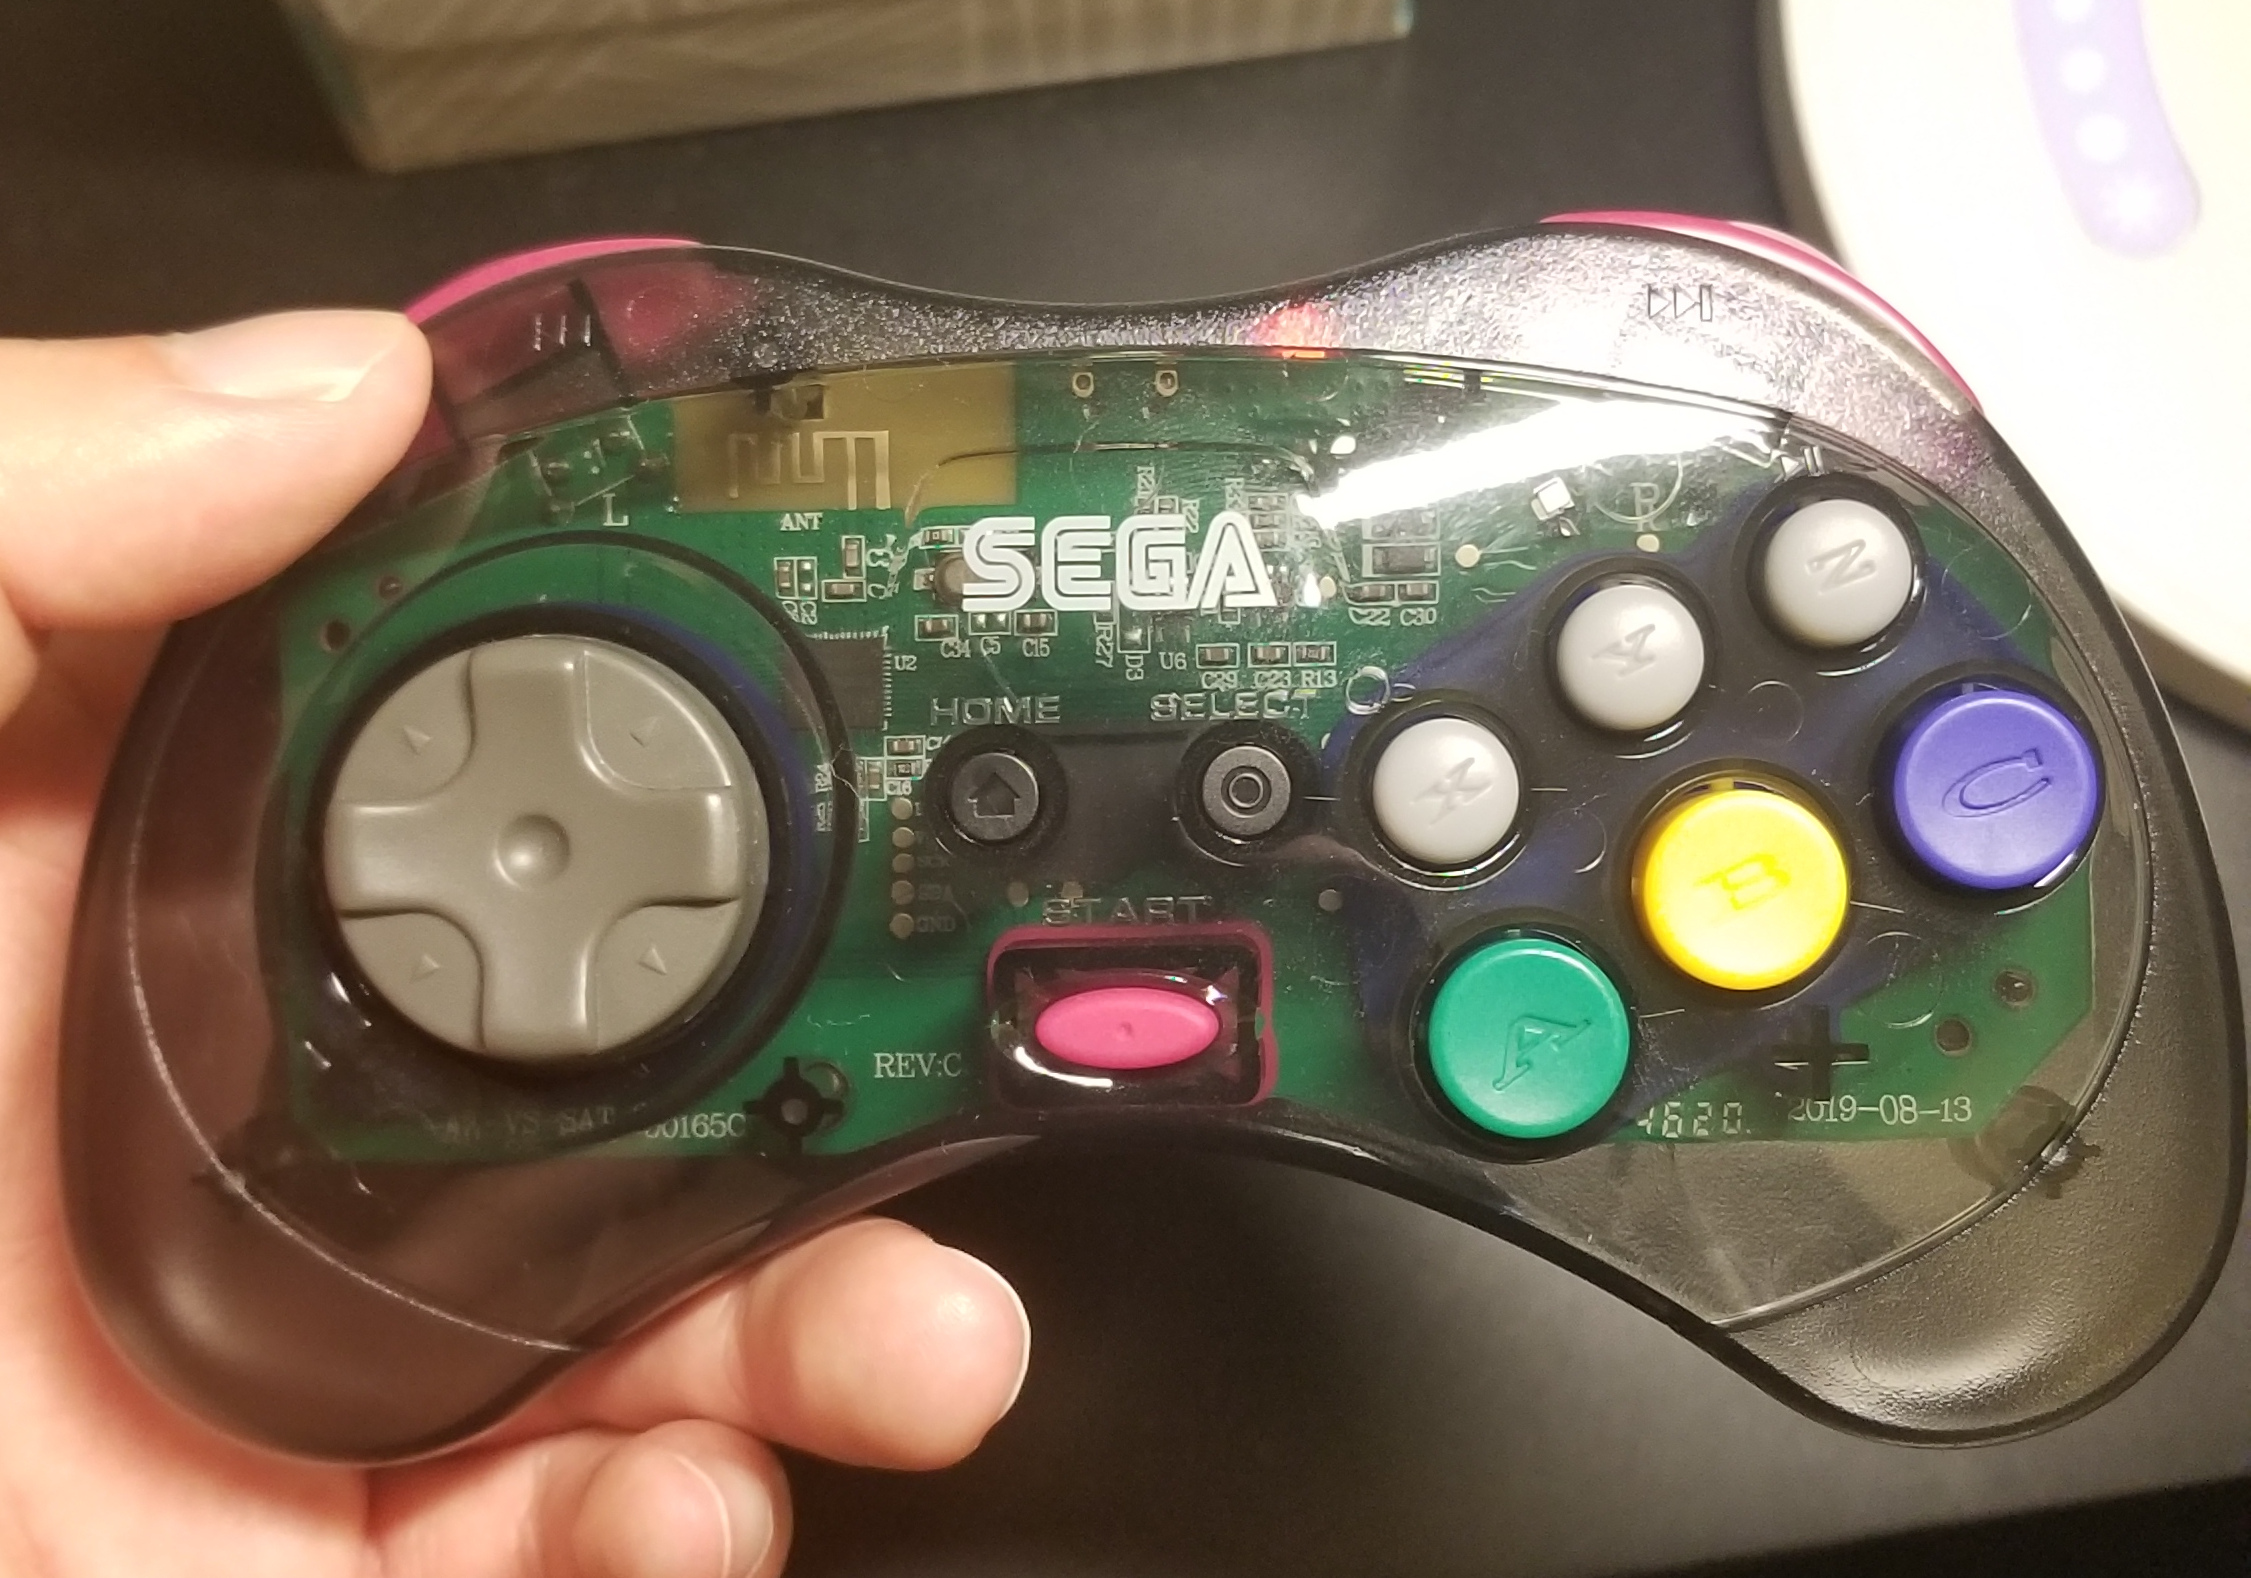
Of course, this also means that arcade sticks are now on the table. I made a previous post about the mod-process on my R(ap)4 stick, which is PS3/PS4/PC only.

However, there are a number of USB-A (M) to USB-B (F) converters on the market which allow one to use PS4/Xbox controllers for the Switch. Two of the most popular and readily-available options are the Mayflash MagicNS and the Brooks WingmanNS. After consulting some input-lag data, I went with the MagicNS as it was considerably cheaper than Brook’s offerring with relatively similar latency.
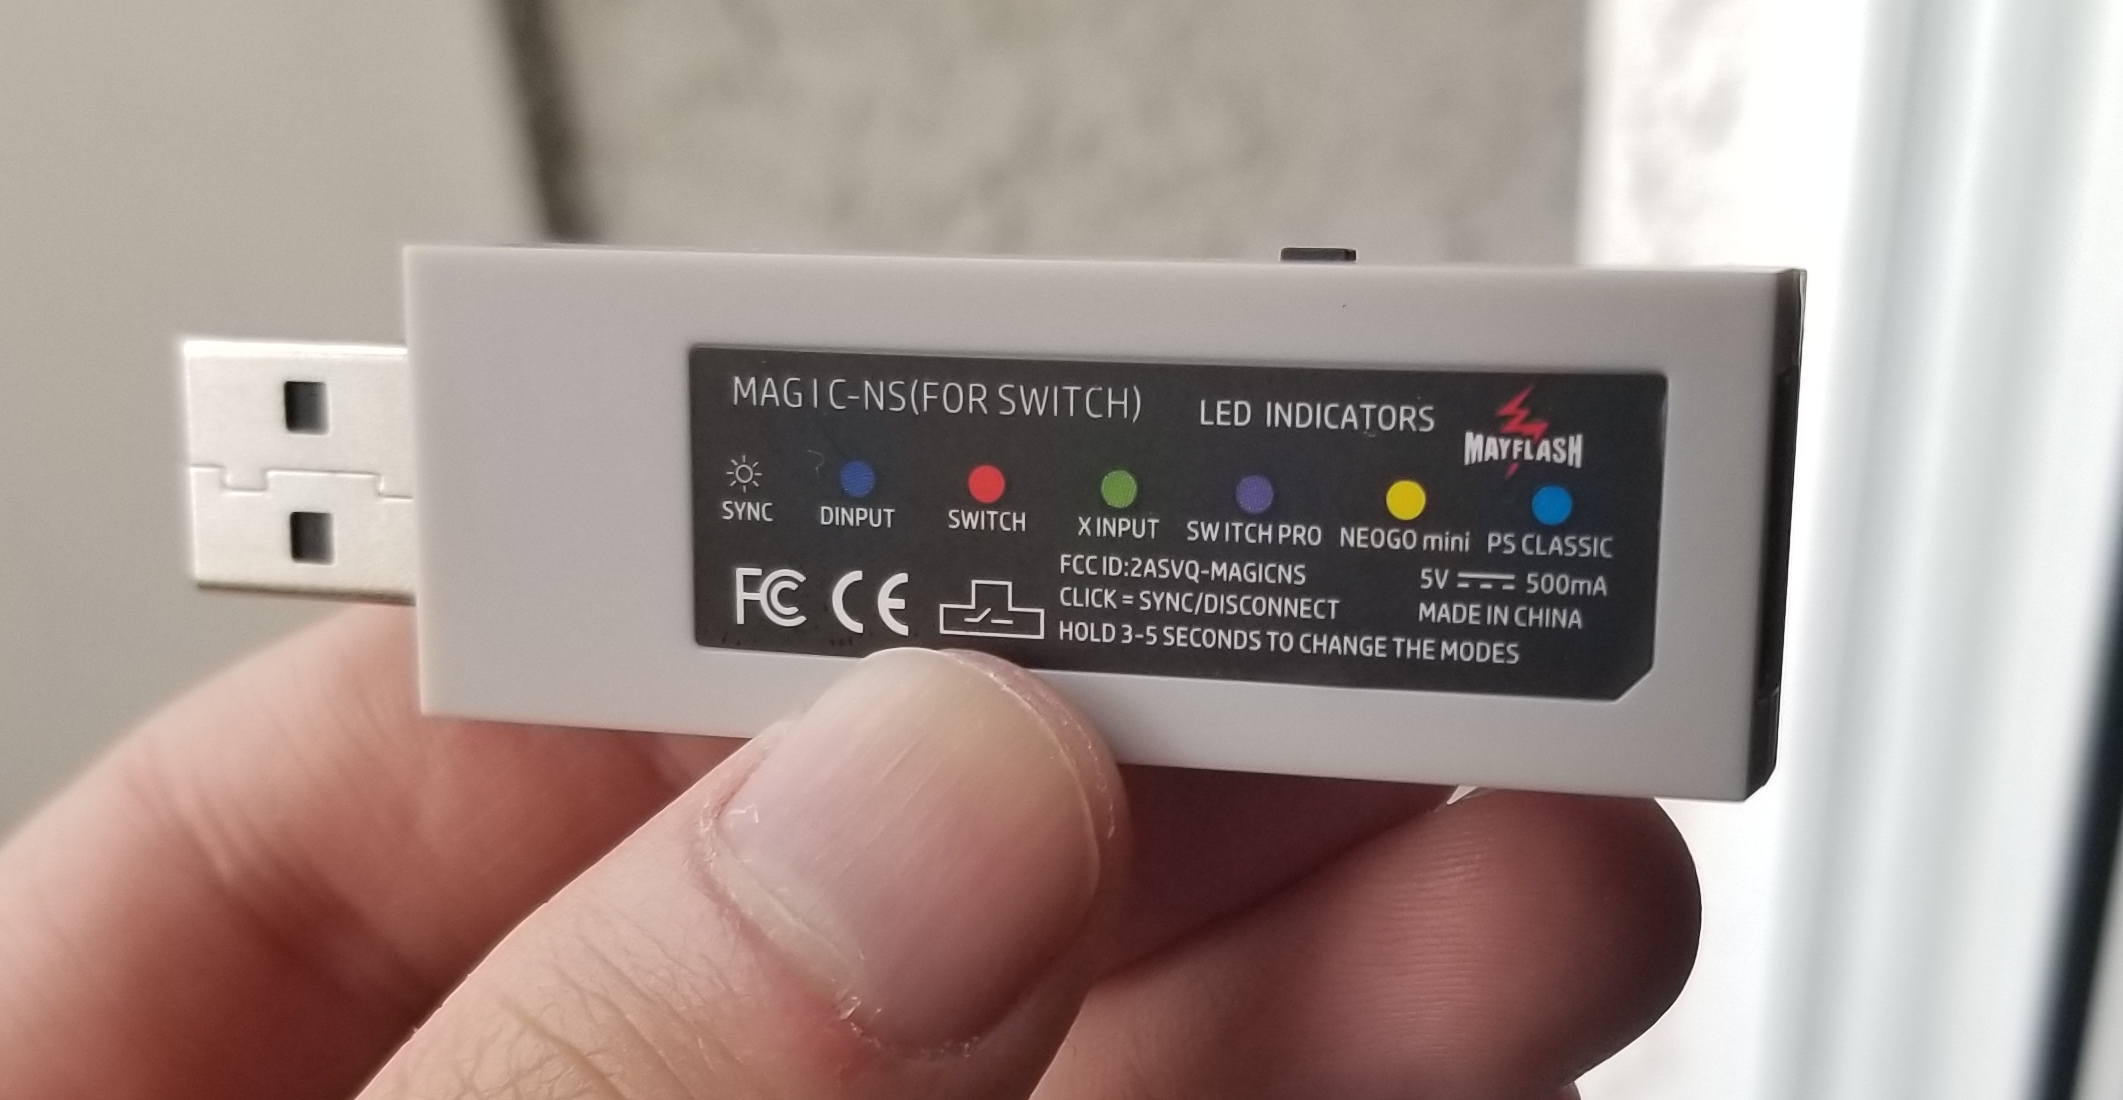
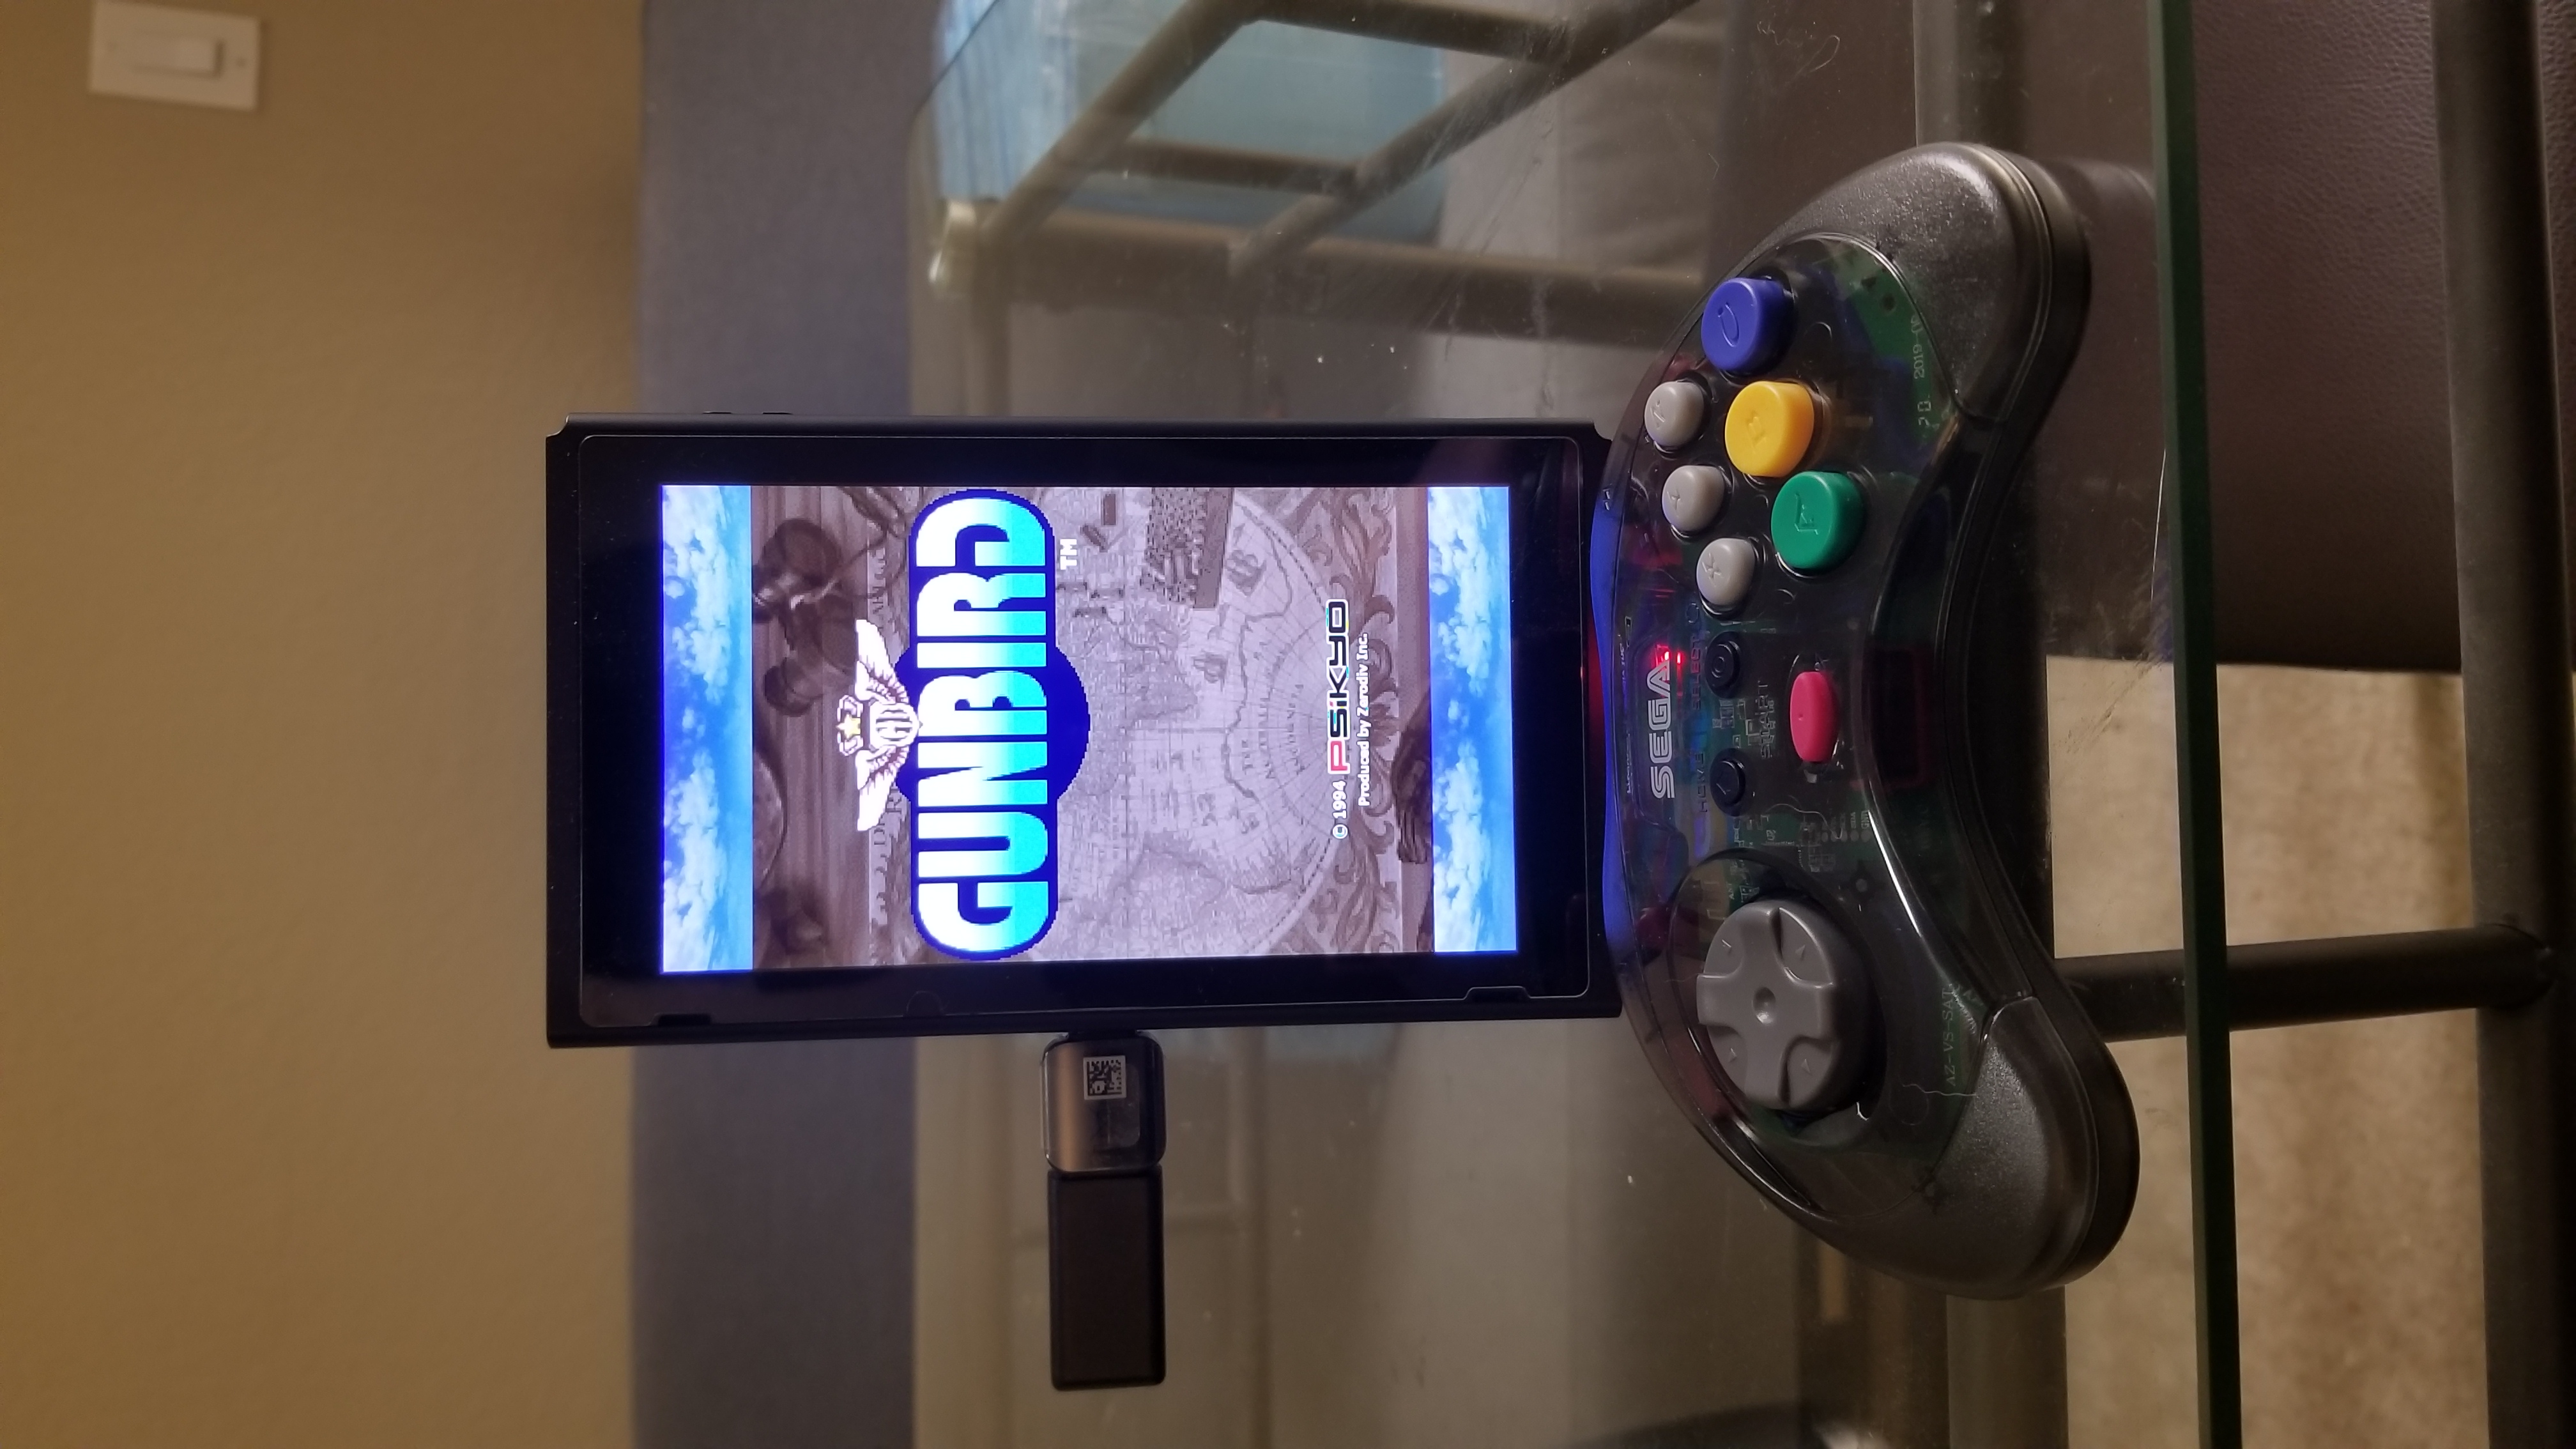
With controller options out of the way, we can now look at convenient table-top stands. My preference is the Hori PlayStand, which comes with several convenient options.
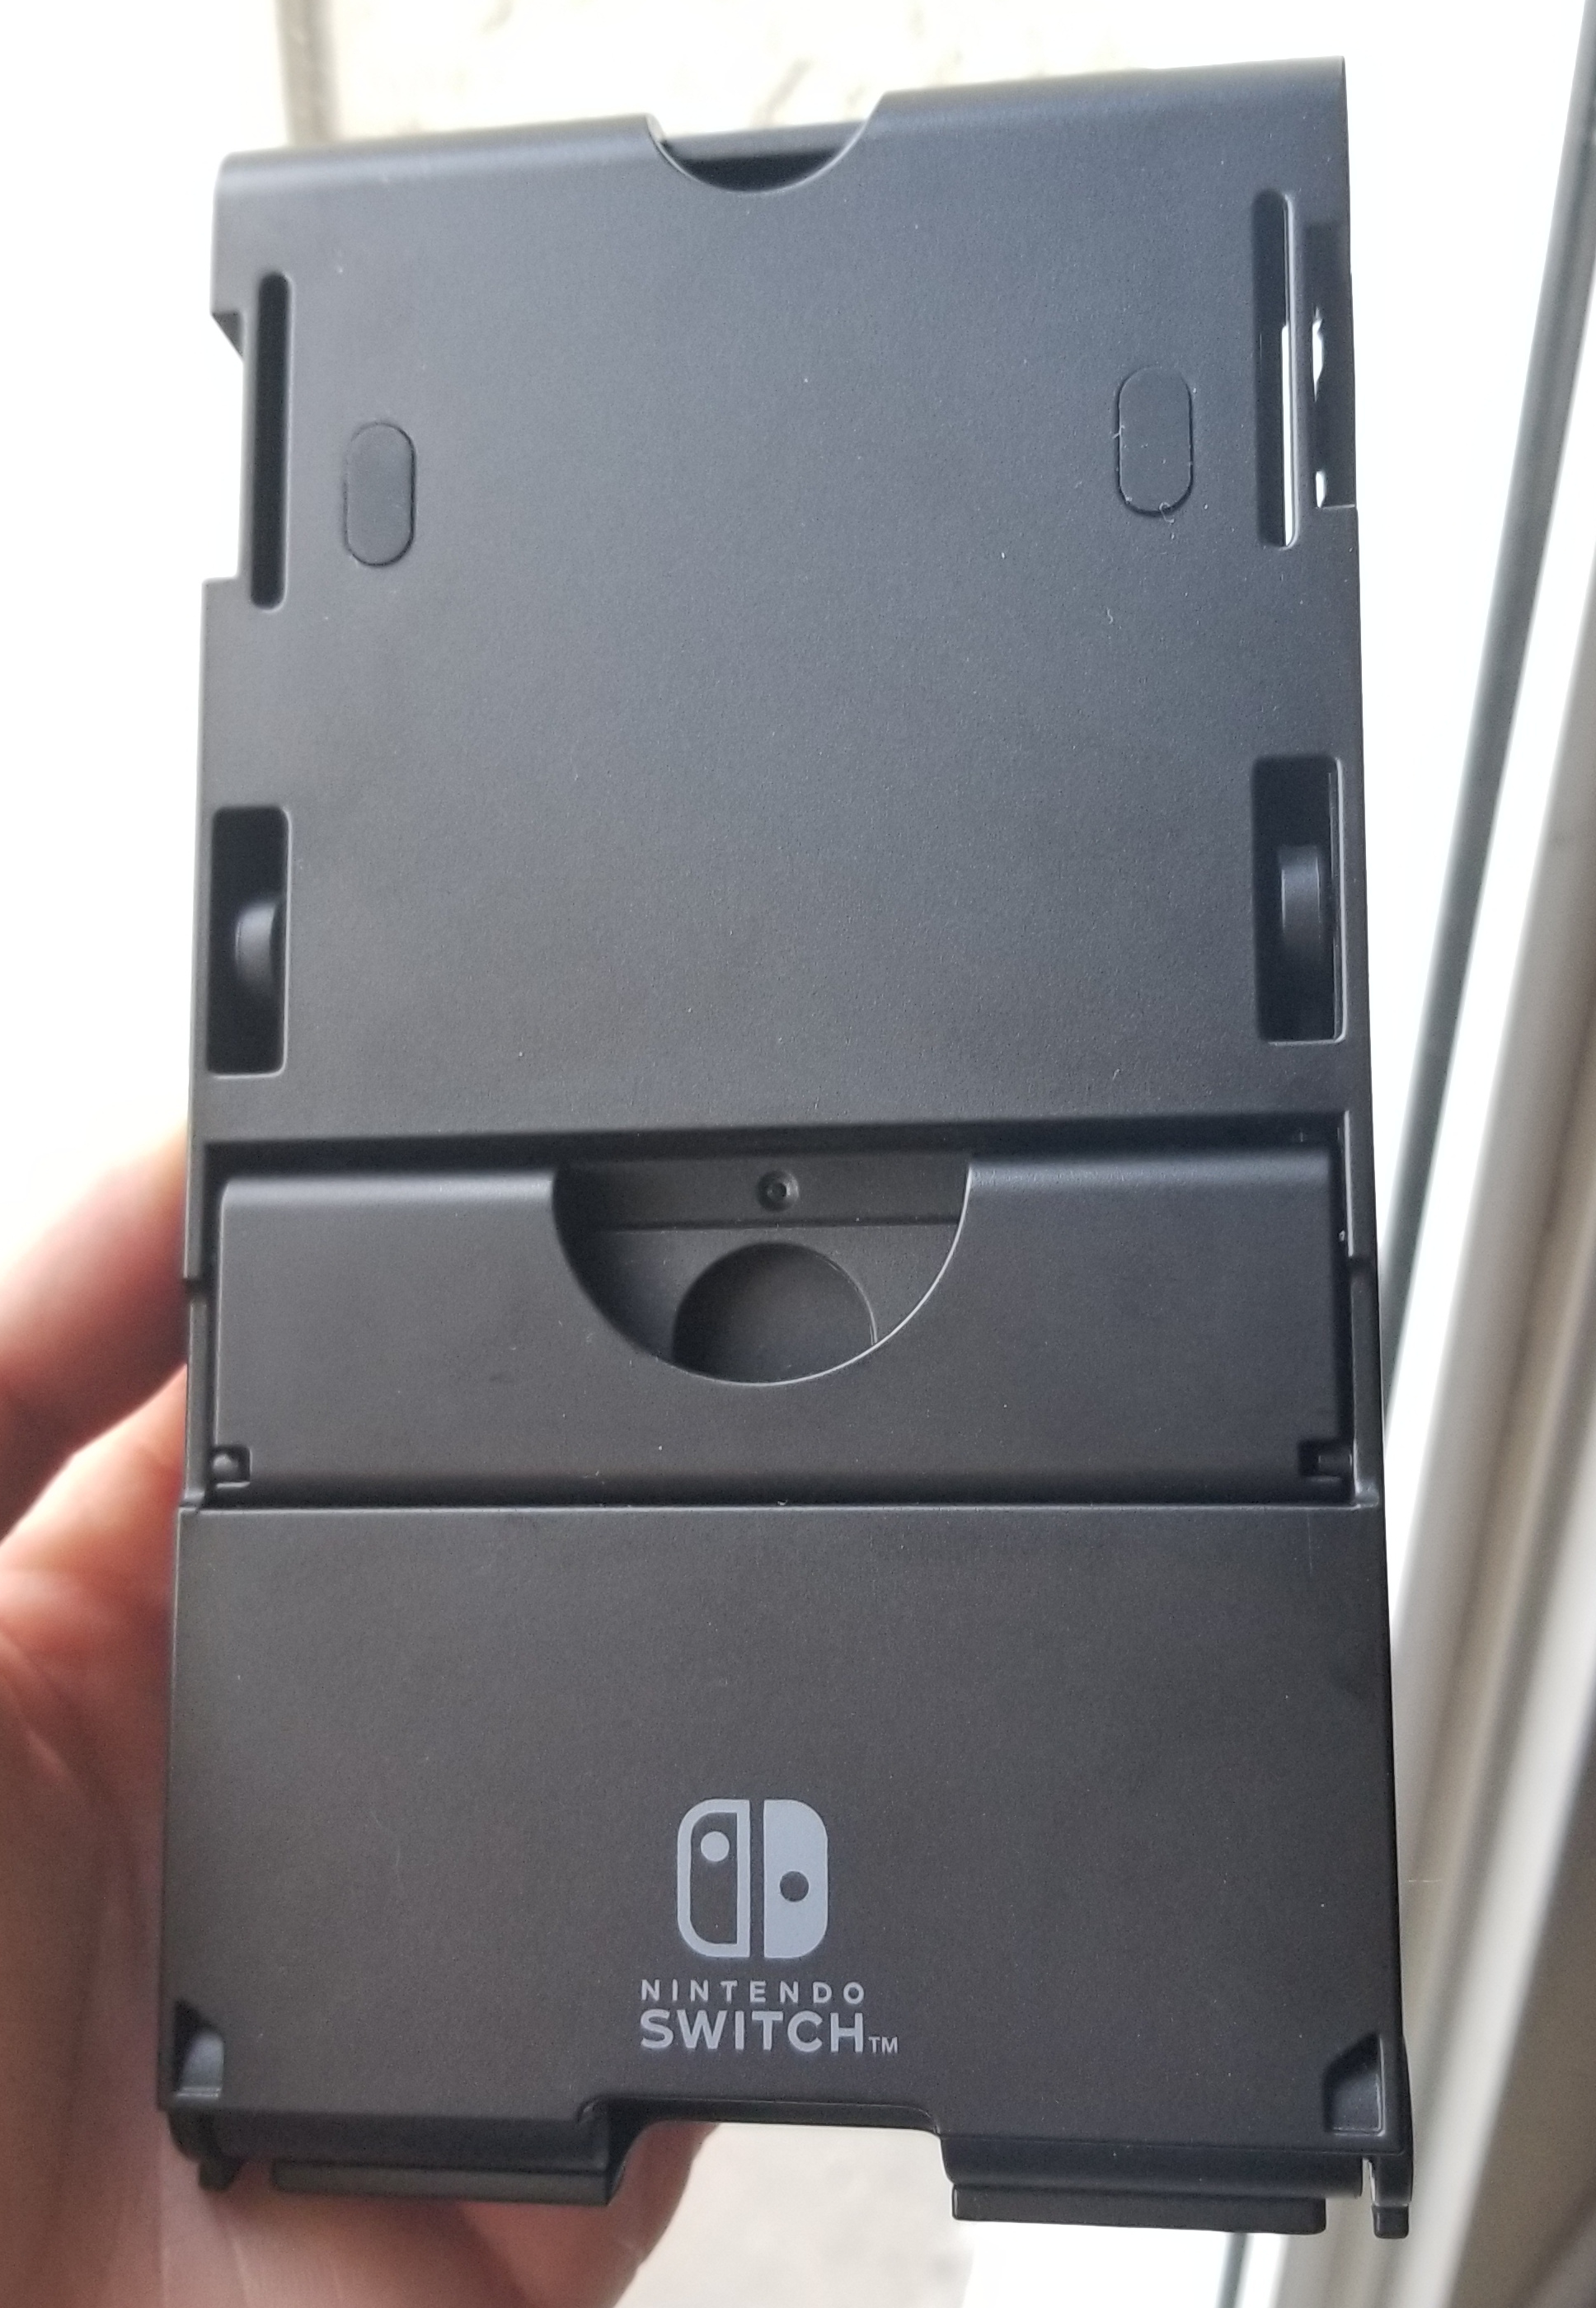
The biggest upside to using this stand is that it offers full access to the USB-C port, with a spacing that is wide enough to use with most USB-C converters. For example, you can use a USB-C to USB-A converter and use it to wire up a controller with no issues.
Furthermore, you can use the stand for both vertical and horizontal orientations. The stand offers great support and has rubber feet to prevent slipping. It also offers a range of viewing angles, which is kind of neat if you need additional options for your table-top play.
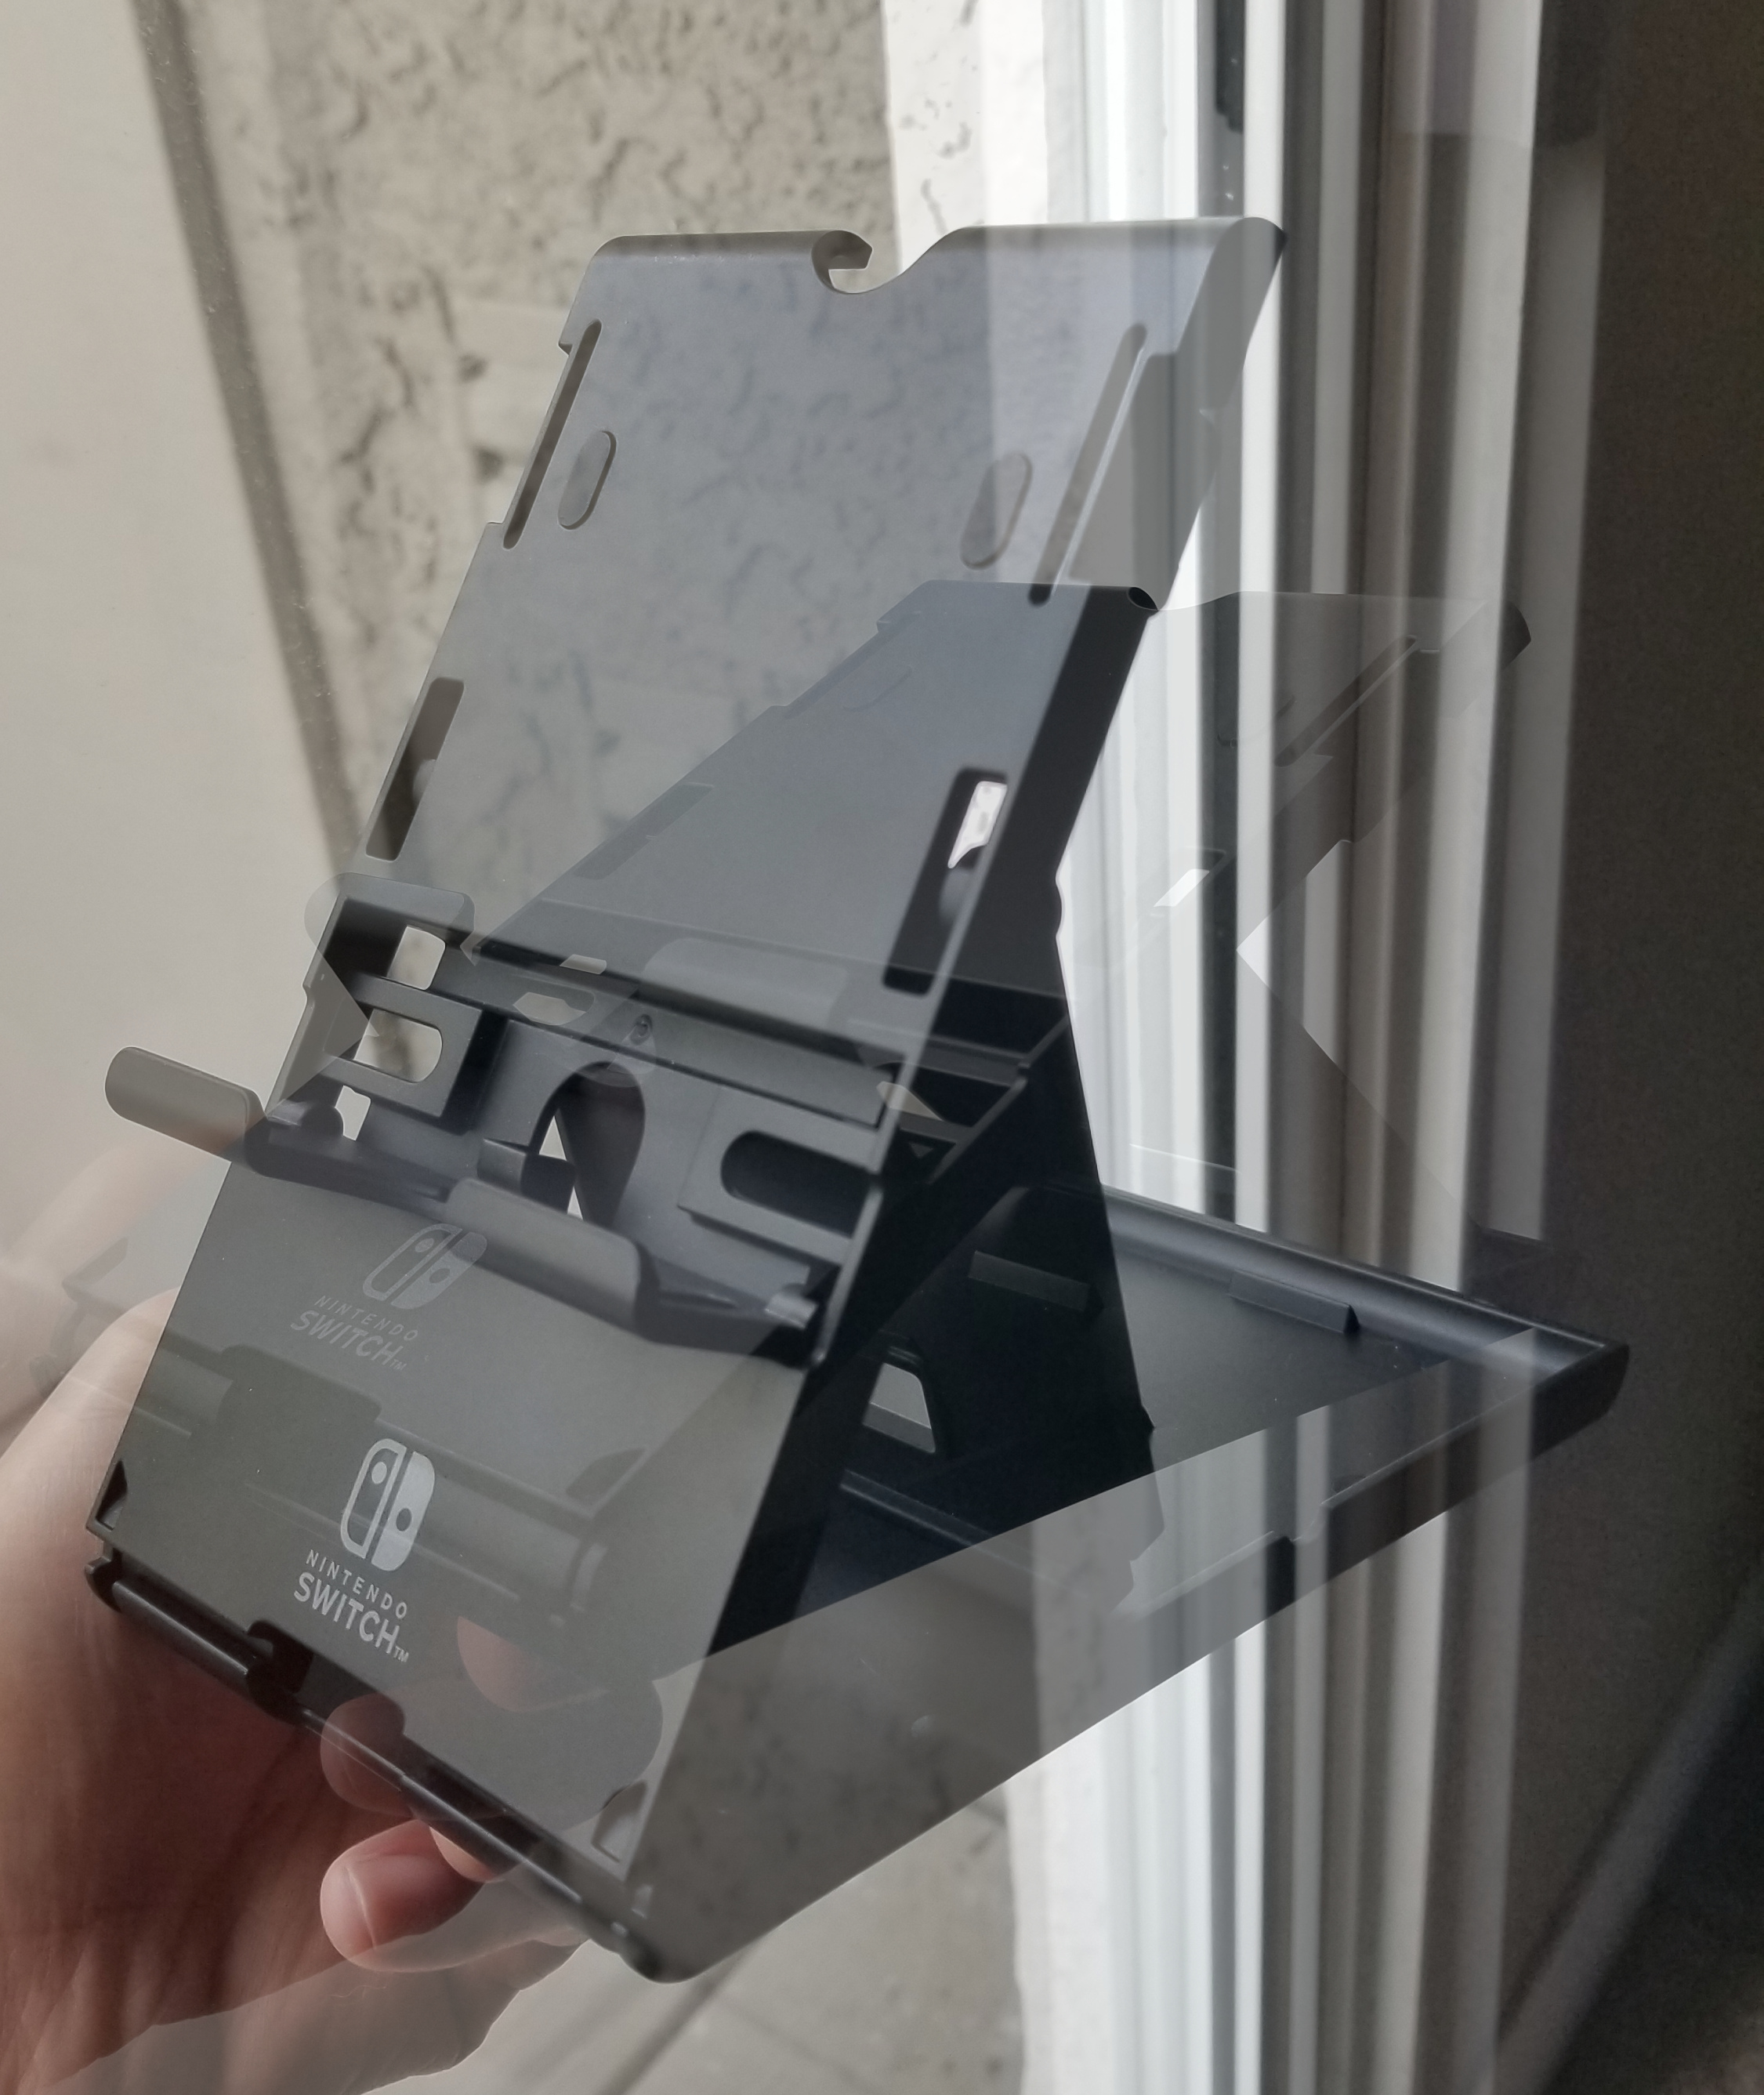
Here’s what the stand looks like in action. Very enticing!
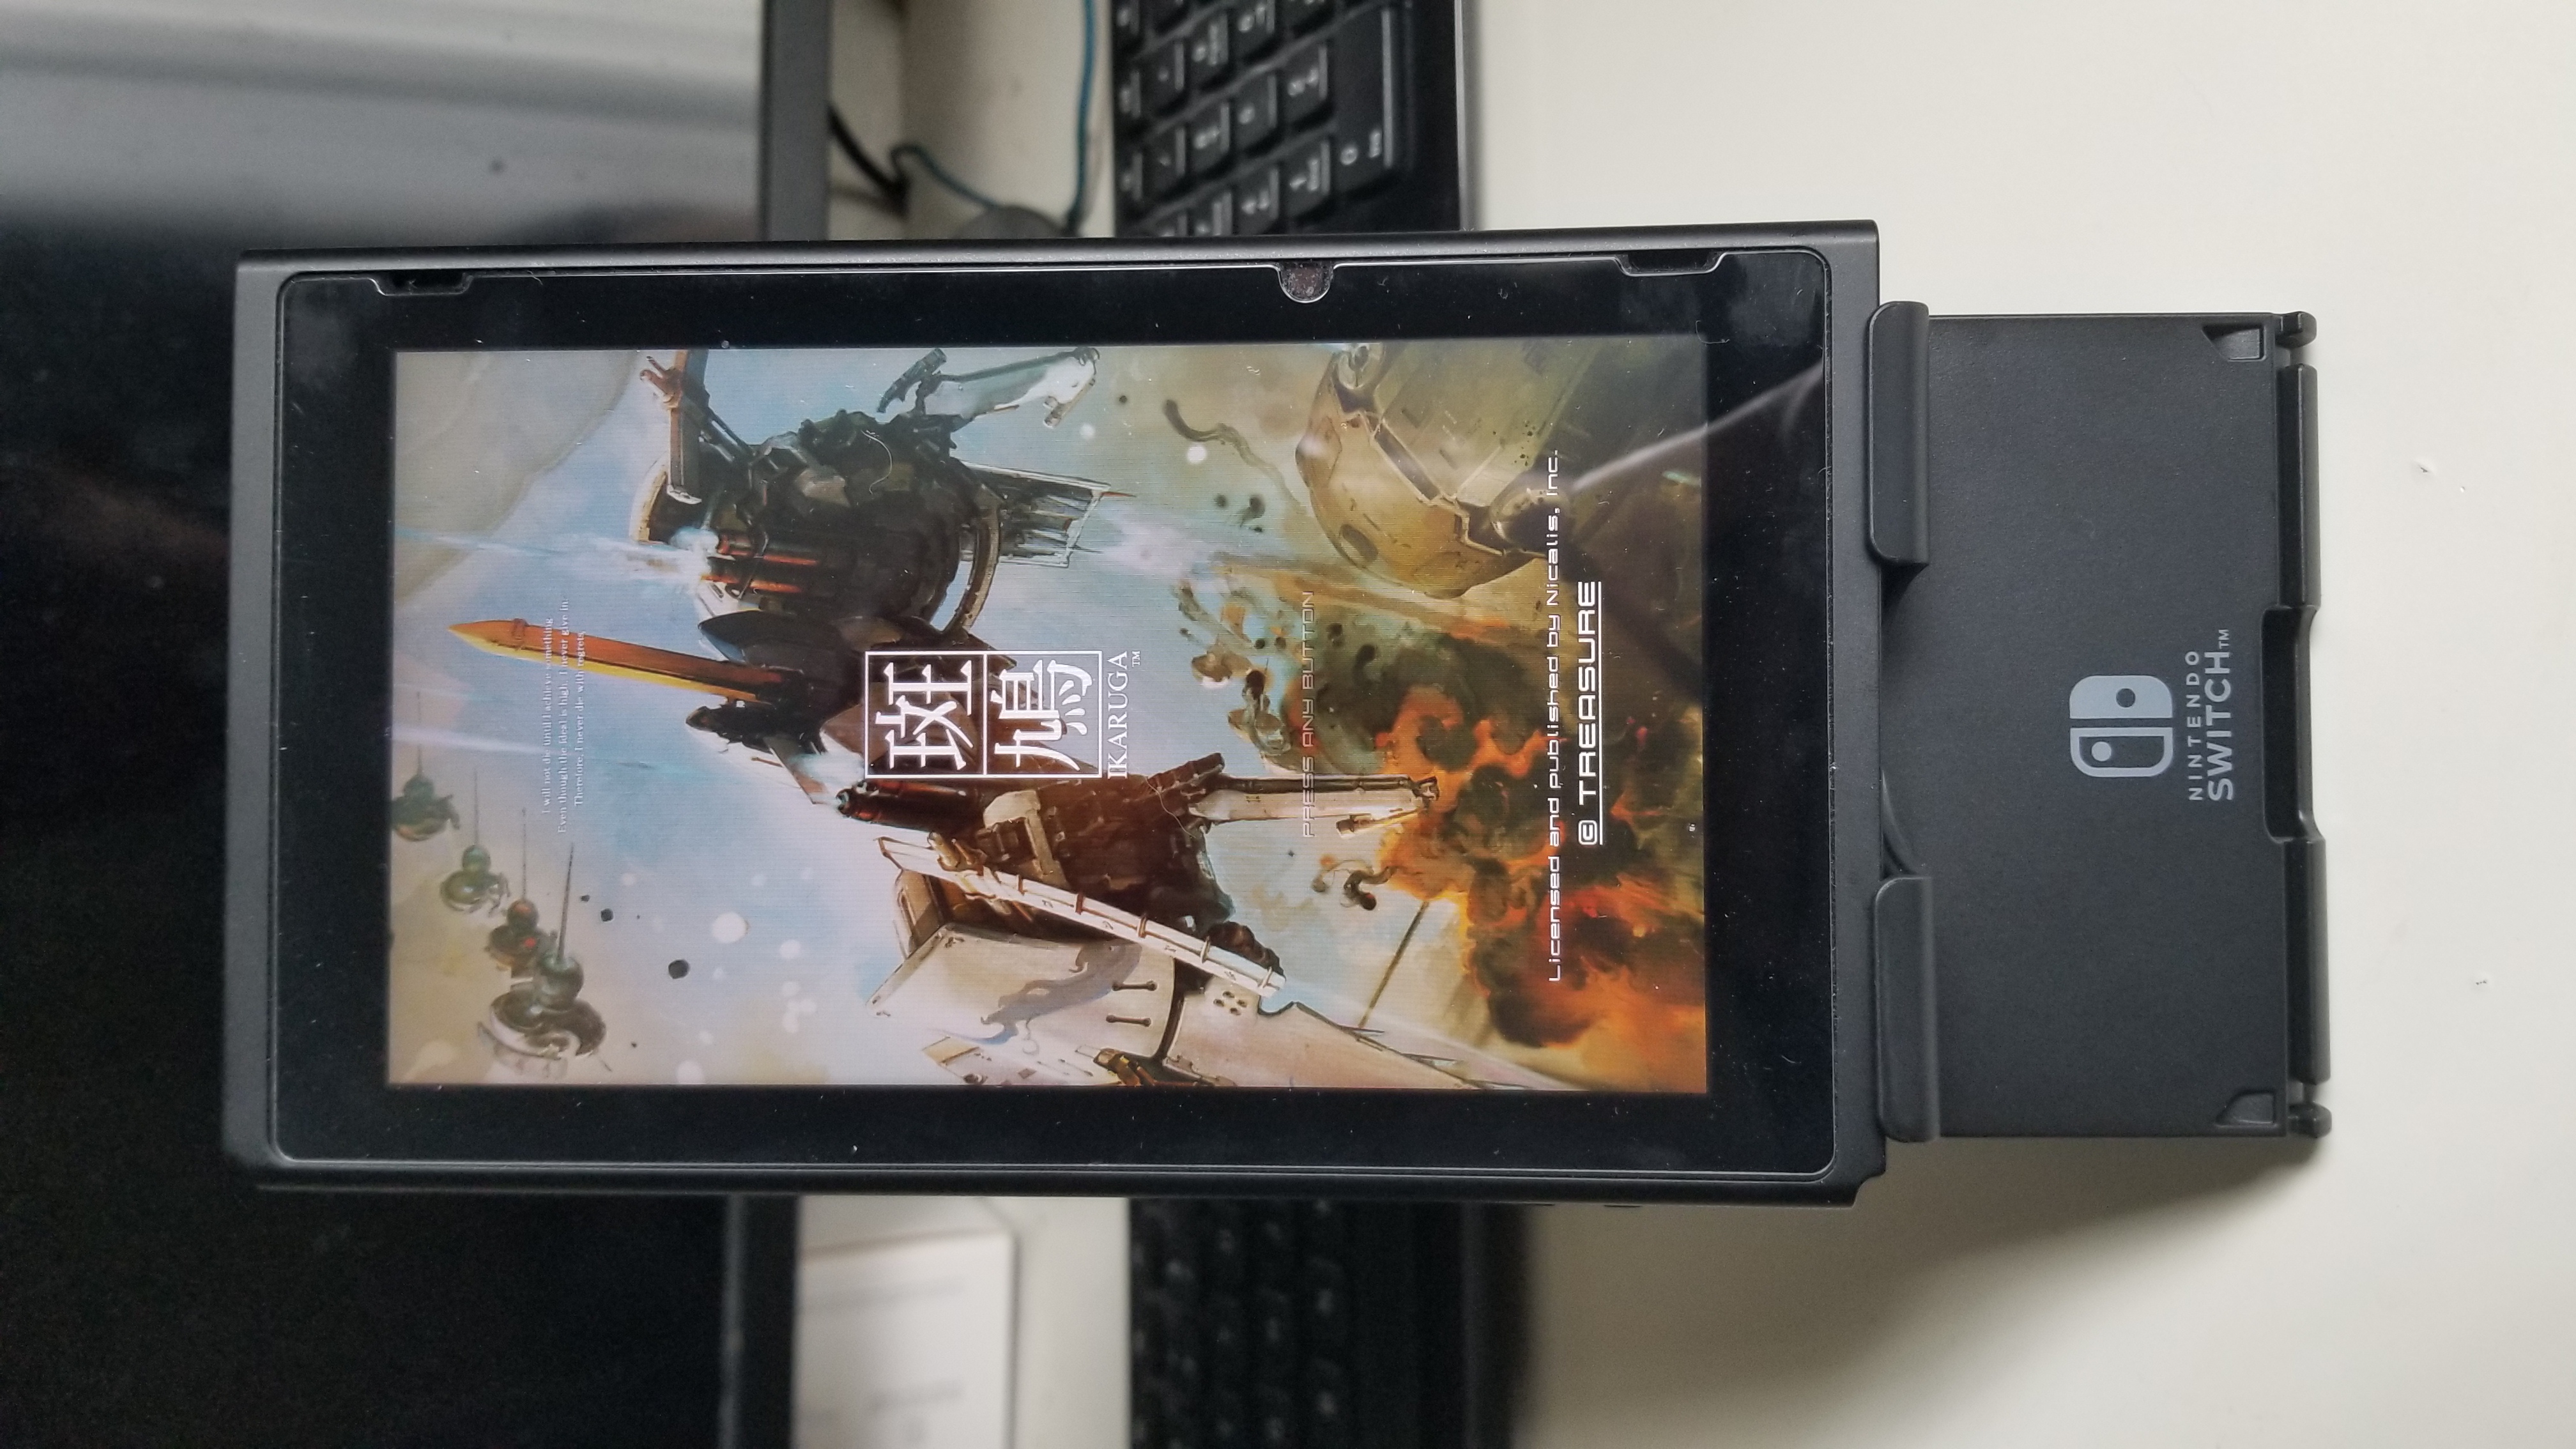
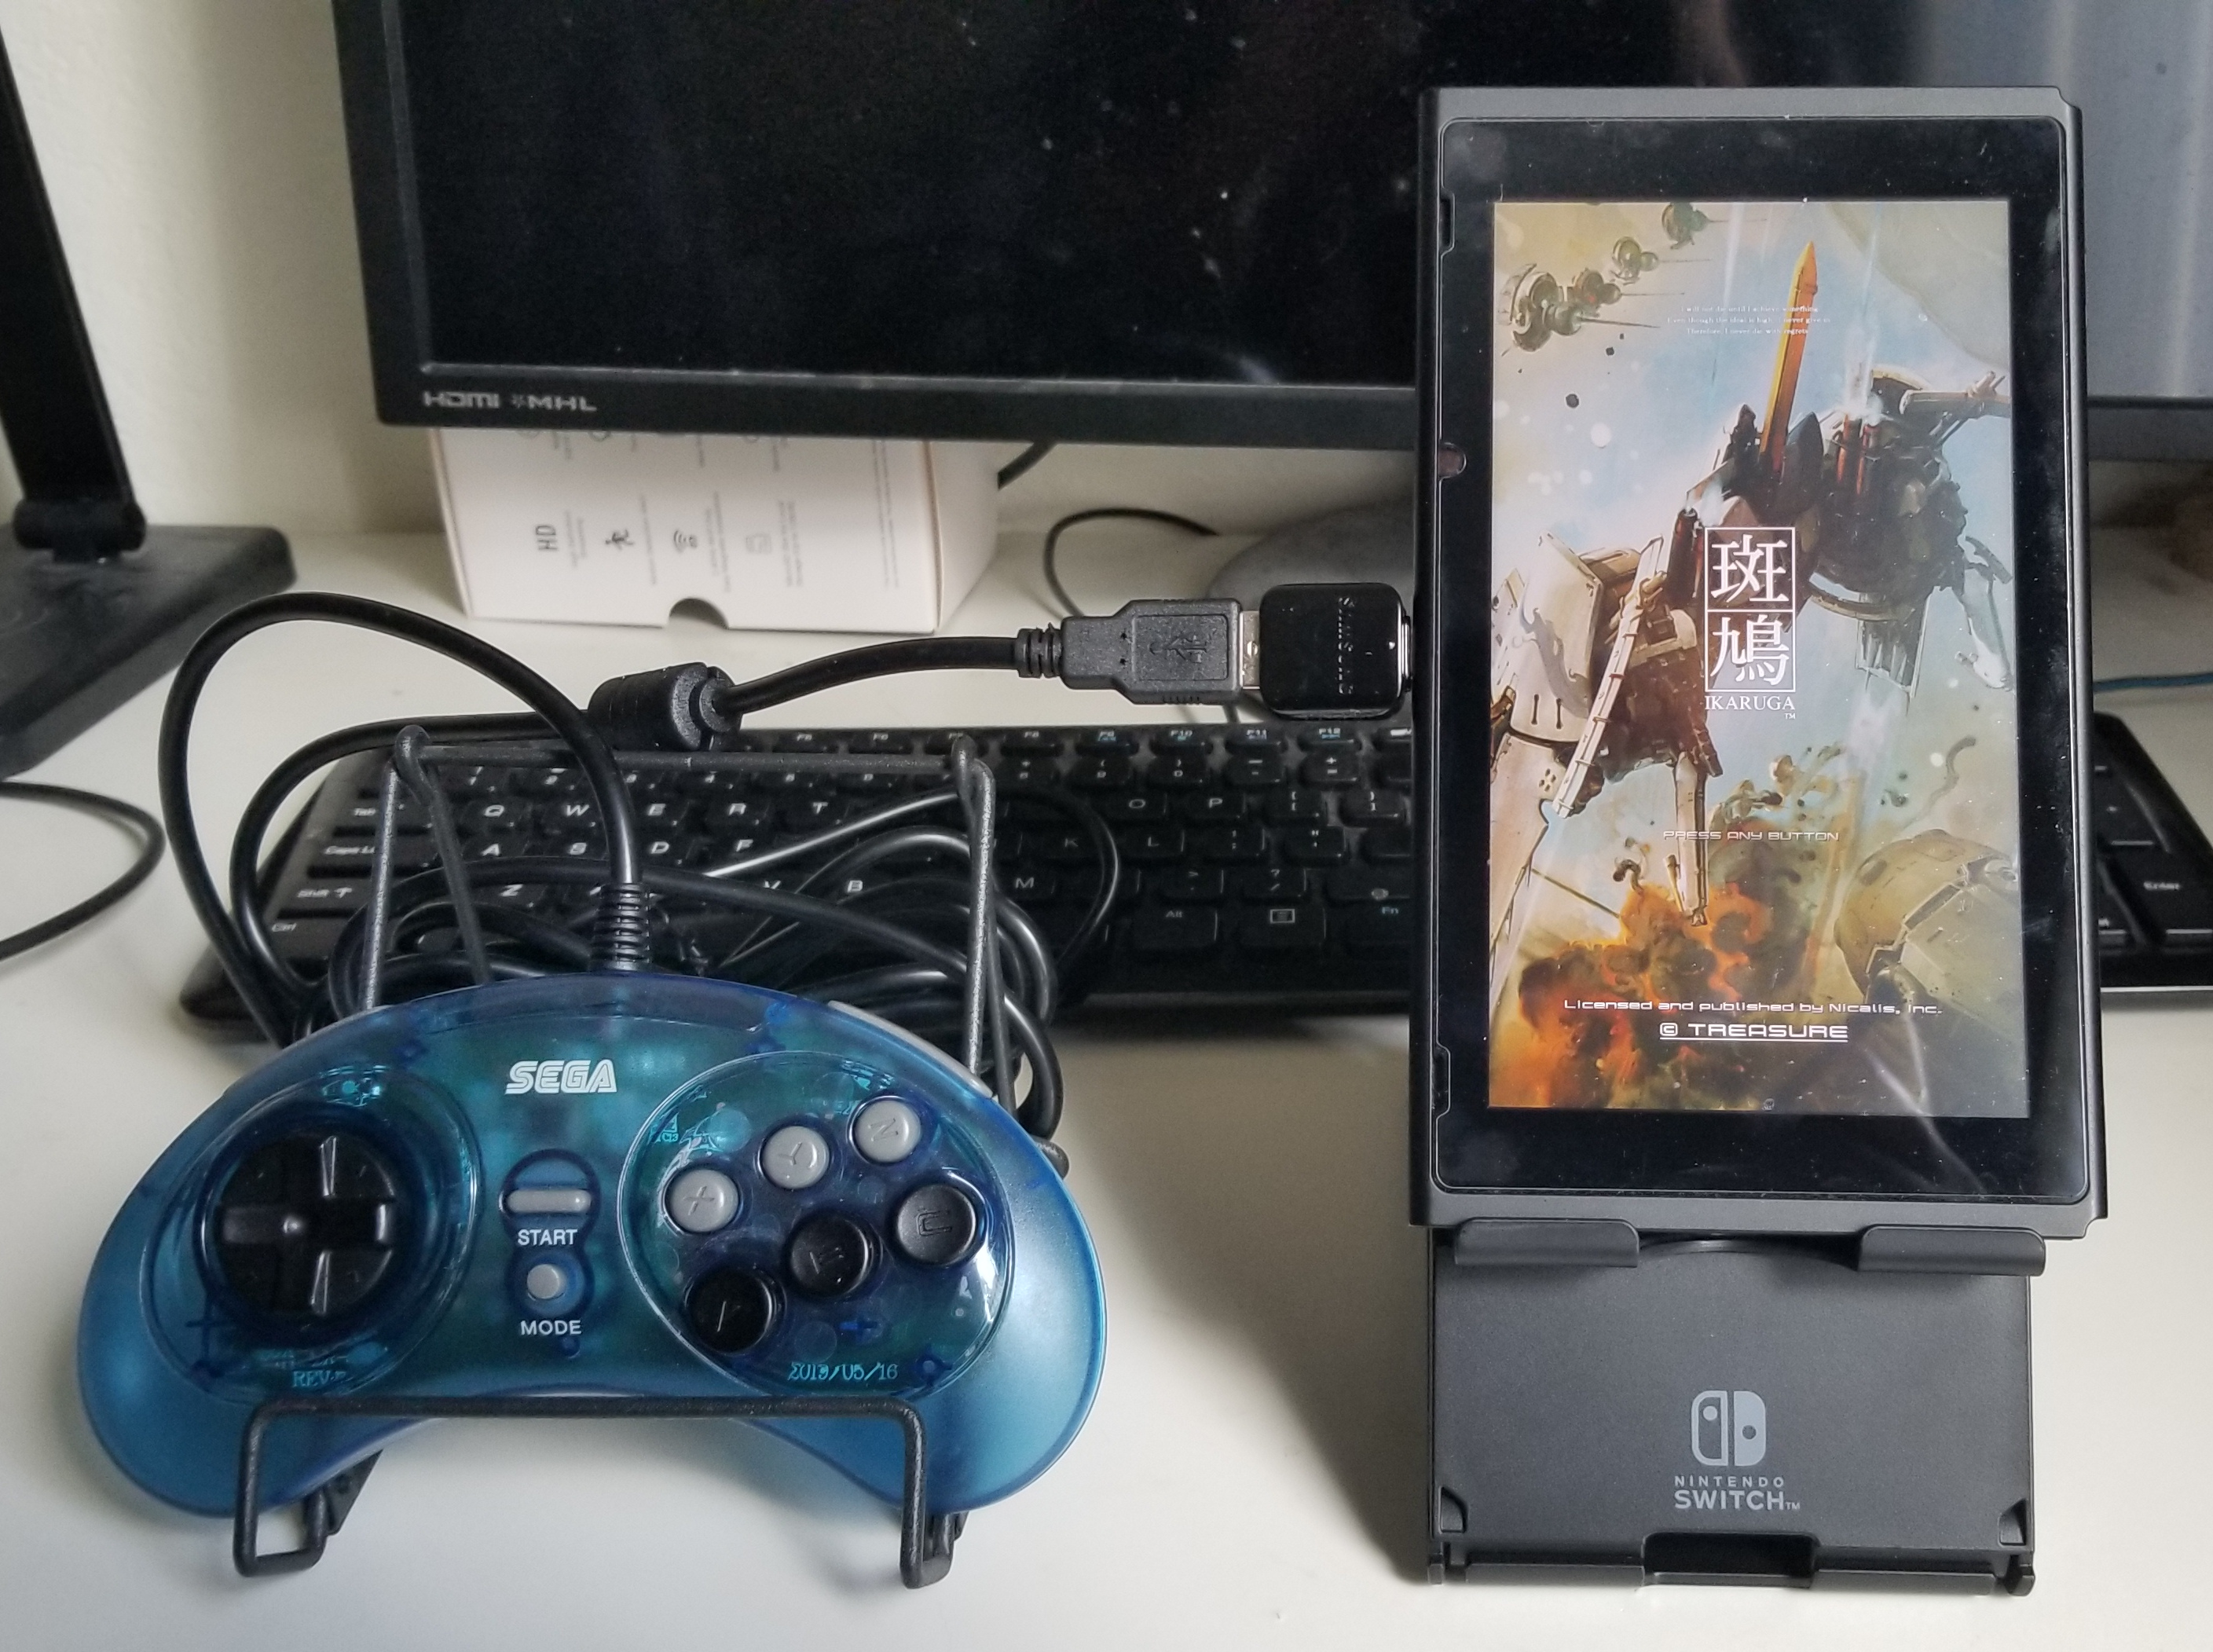
If a smaller form-factor and TATE mode are your desired use-cases, then it may be worth looking into a 3D printed vertical stand.
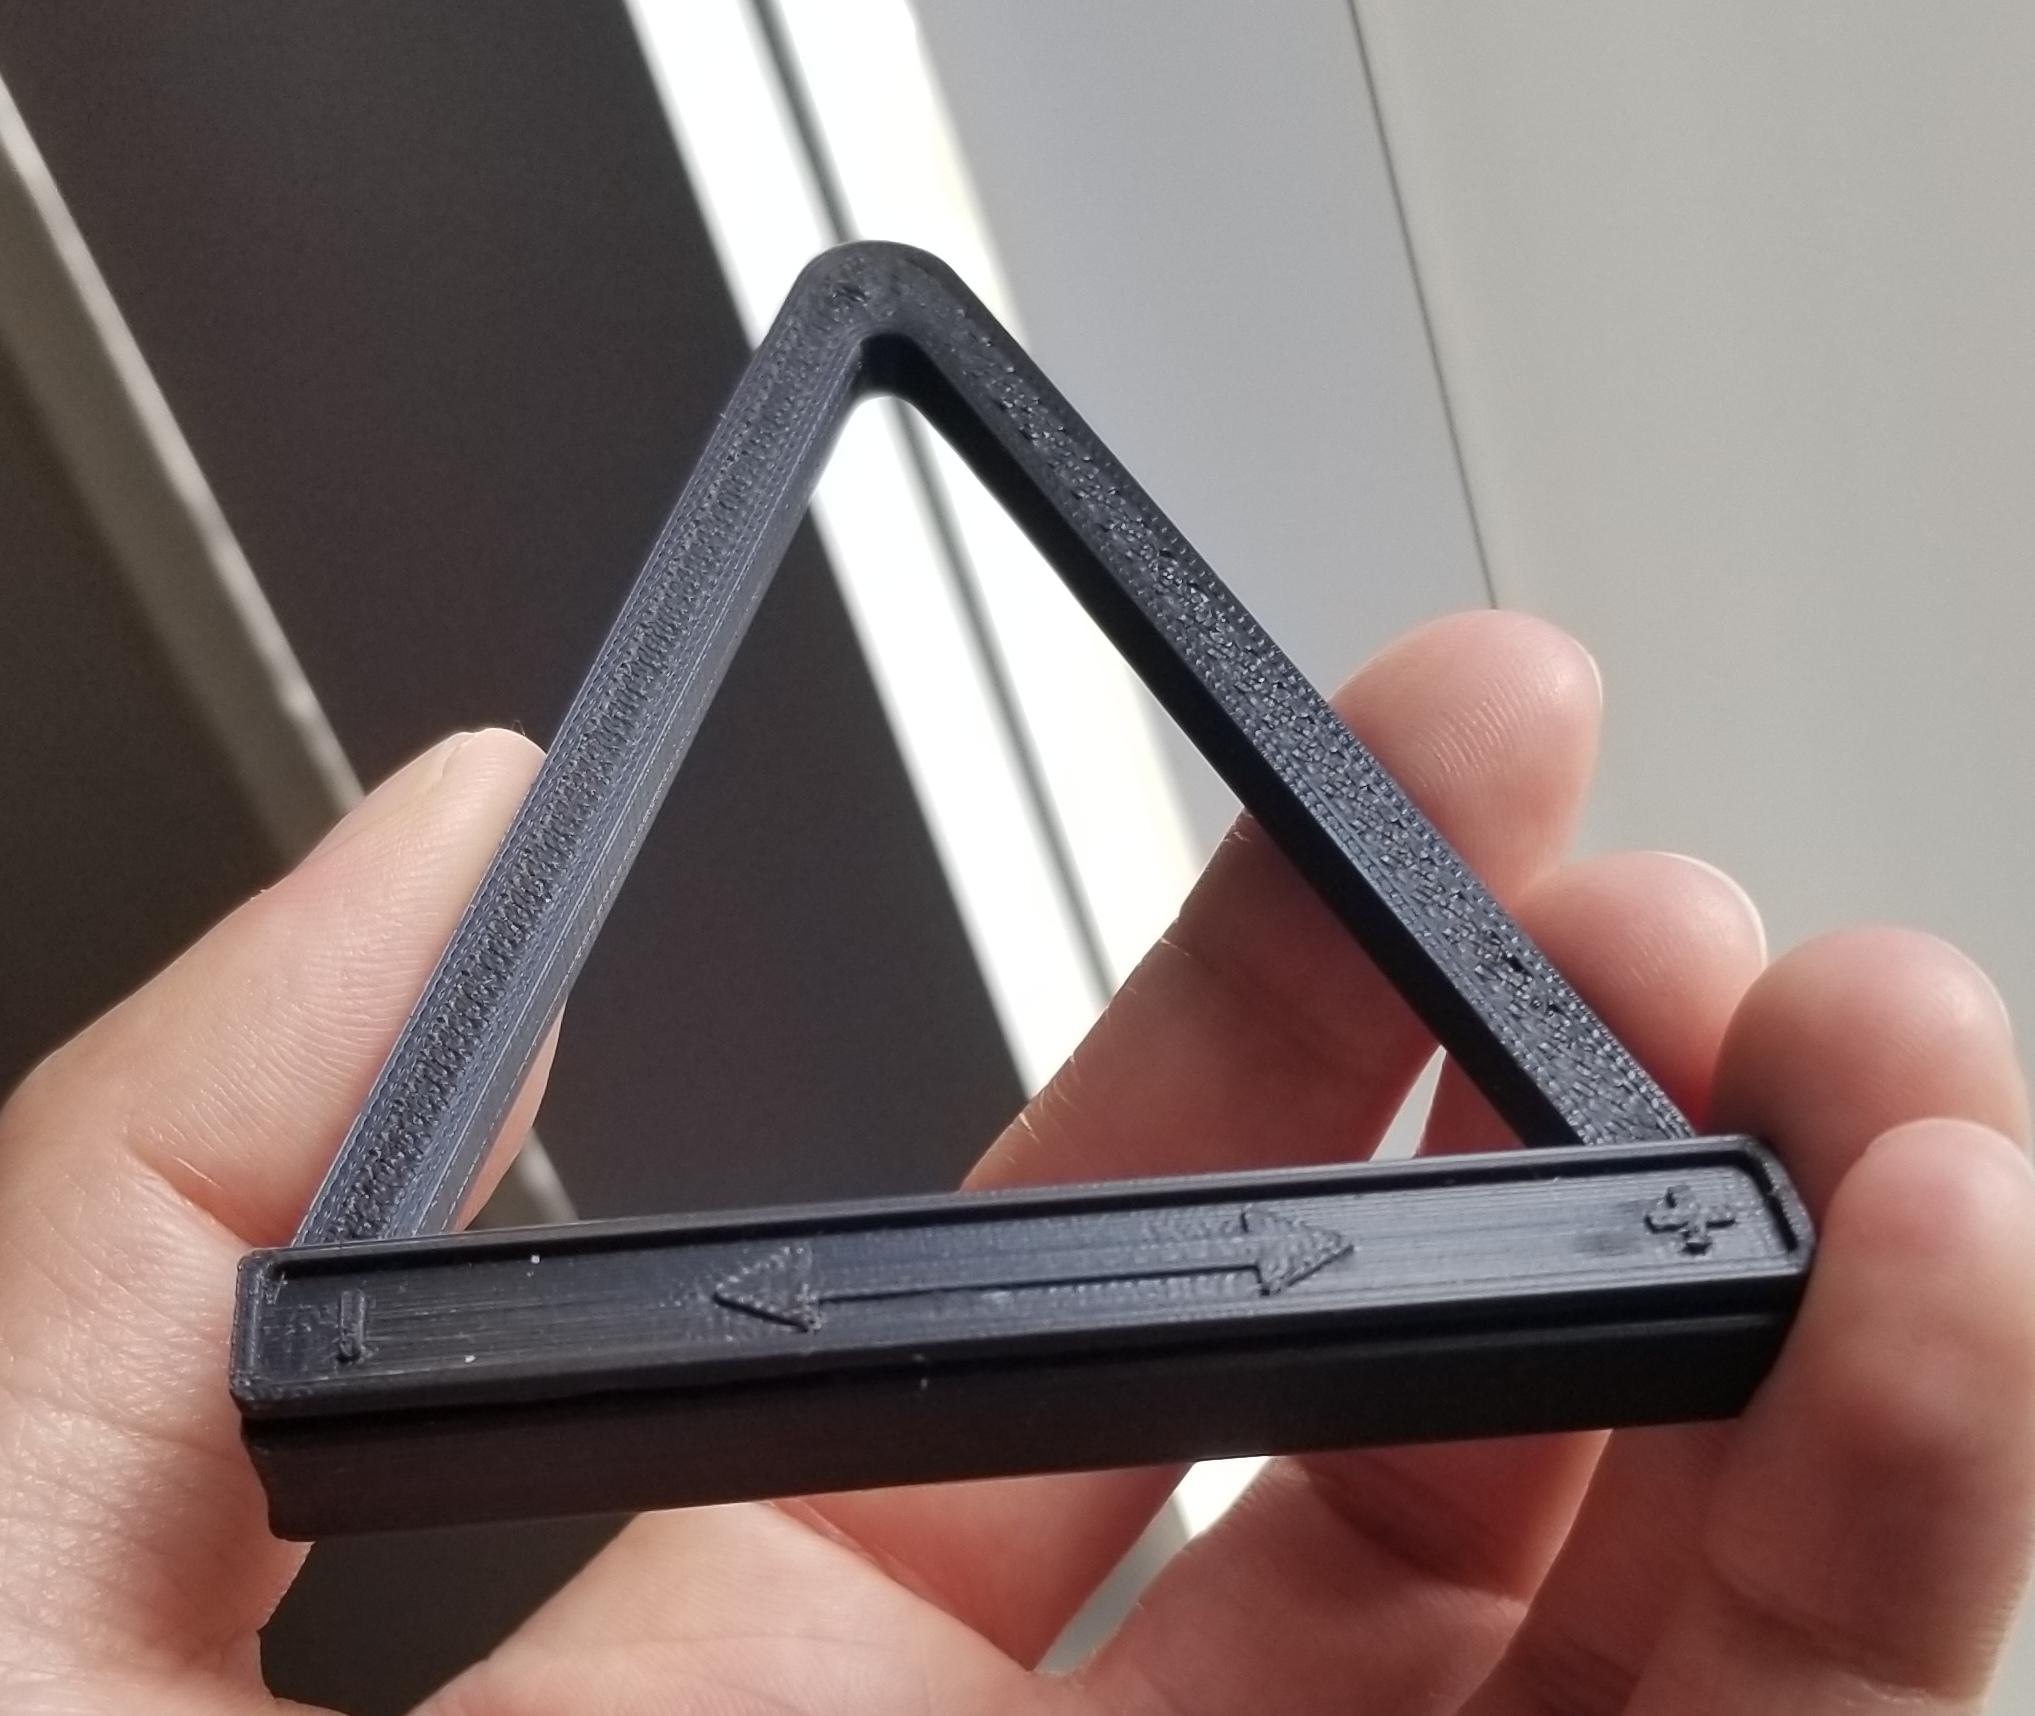
This one came from Etsy, and it slides right into the joycon rail. It’s definitely a cool concept, and I use it as a secondary table-top stand myself. However, I appreciate the extra height that the Hori stand provides which makes table-top play more comfortable. Still, it looks quite nice when paired with a wireless controller!
Docked Mode
All the bells and whistles.
It goes without saying, but docked mode opens up the rest of your options. You can dock your switch to any display of your choosing and take advantage of all controller options we discussed above. This is my preferred method of playing when possible.
To compliment the portable nature of the console, I recently purchased the Genki Covert Dock to hook up to my TATE-enabled monitor, which I otherwise use for my PC. It’s essentially an AC-adapter with the addtional ability to pass through HDMI video/sound from the Switch to a display.
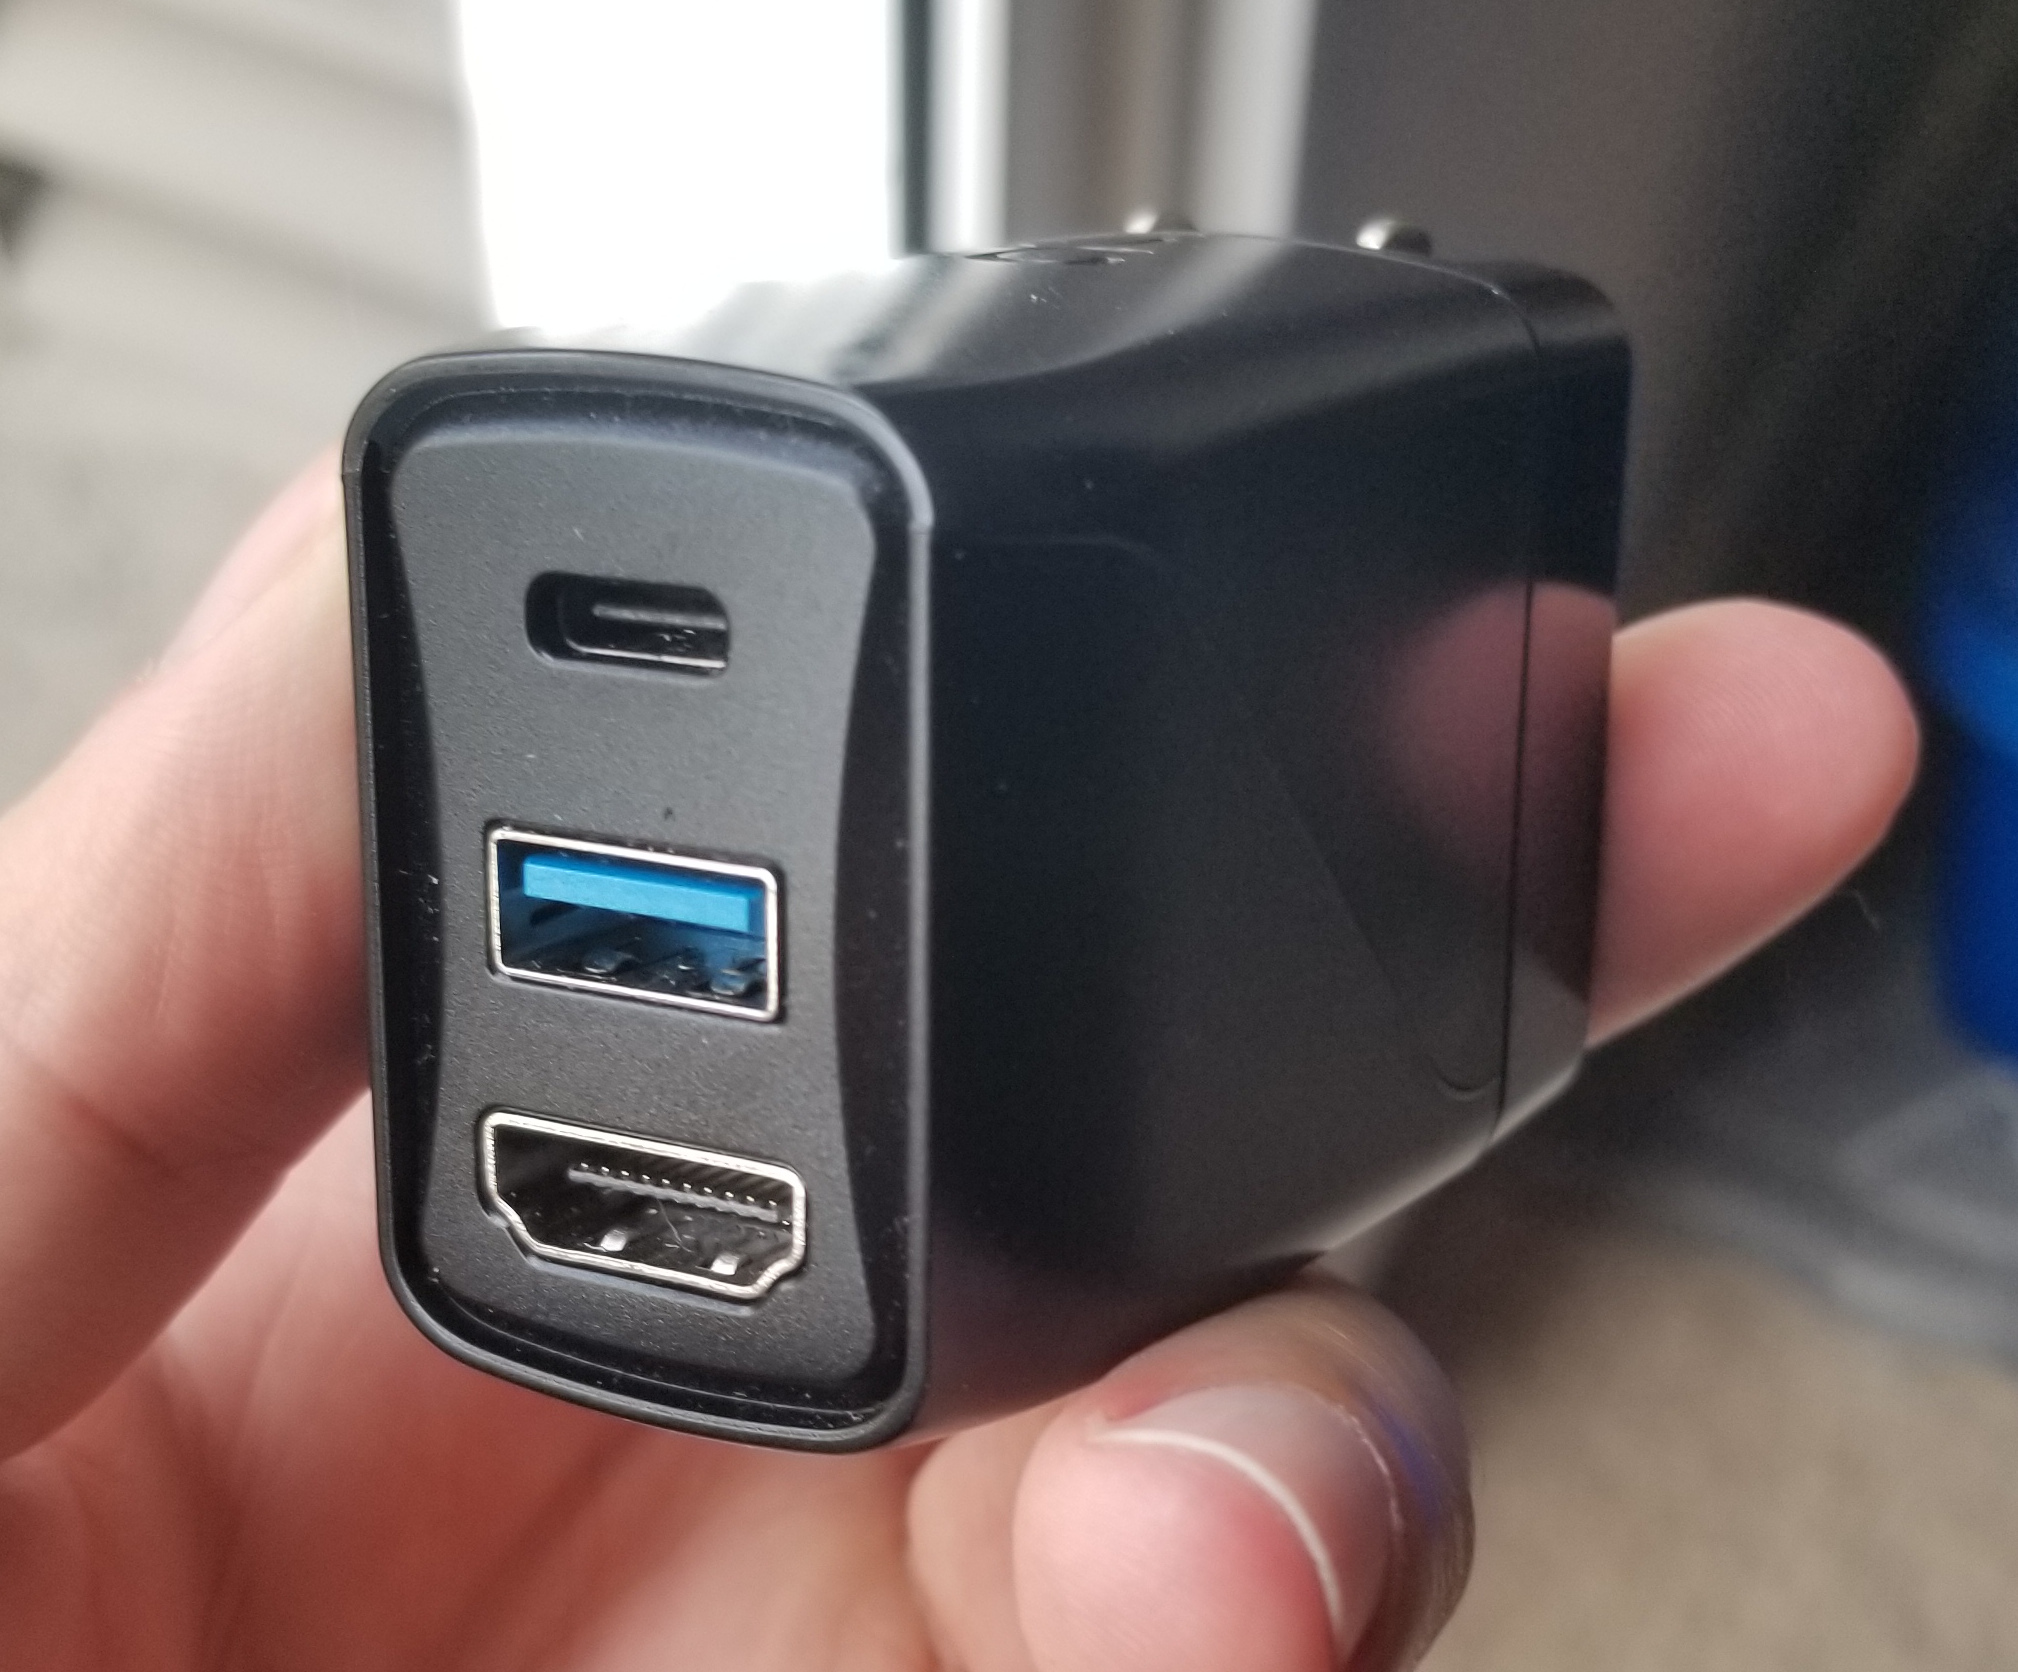
For what it is, the device is a bit pricey (~$80 USD). However, it underwent a pretty significant development period to ensure that the device matched the power-profile of the Switch and thus prevent bricking. The transparency from the developers on this particular topic, and the travel-size form factor sold me on the product over its competitors. Overall, the device works very well, and the one USB-A port has enough room between the HDMI and USB-C ports to fit the MagicNS adapter. It should also be compatible with USB-A hubs, although one might want to use an externally-powered one to avoid issues with power distribution.
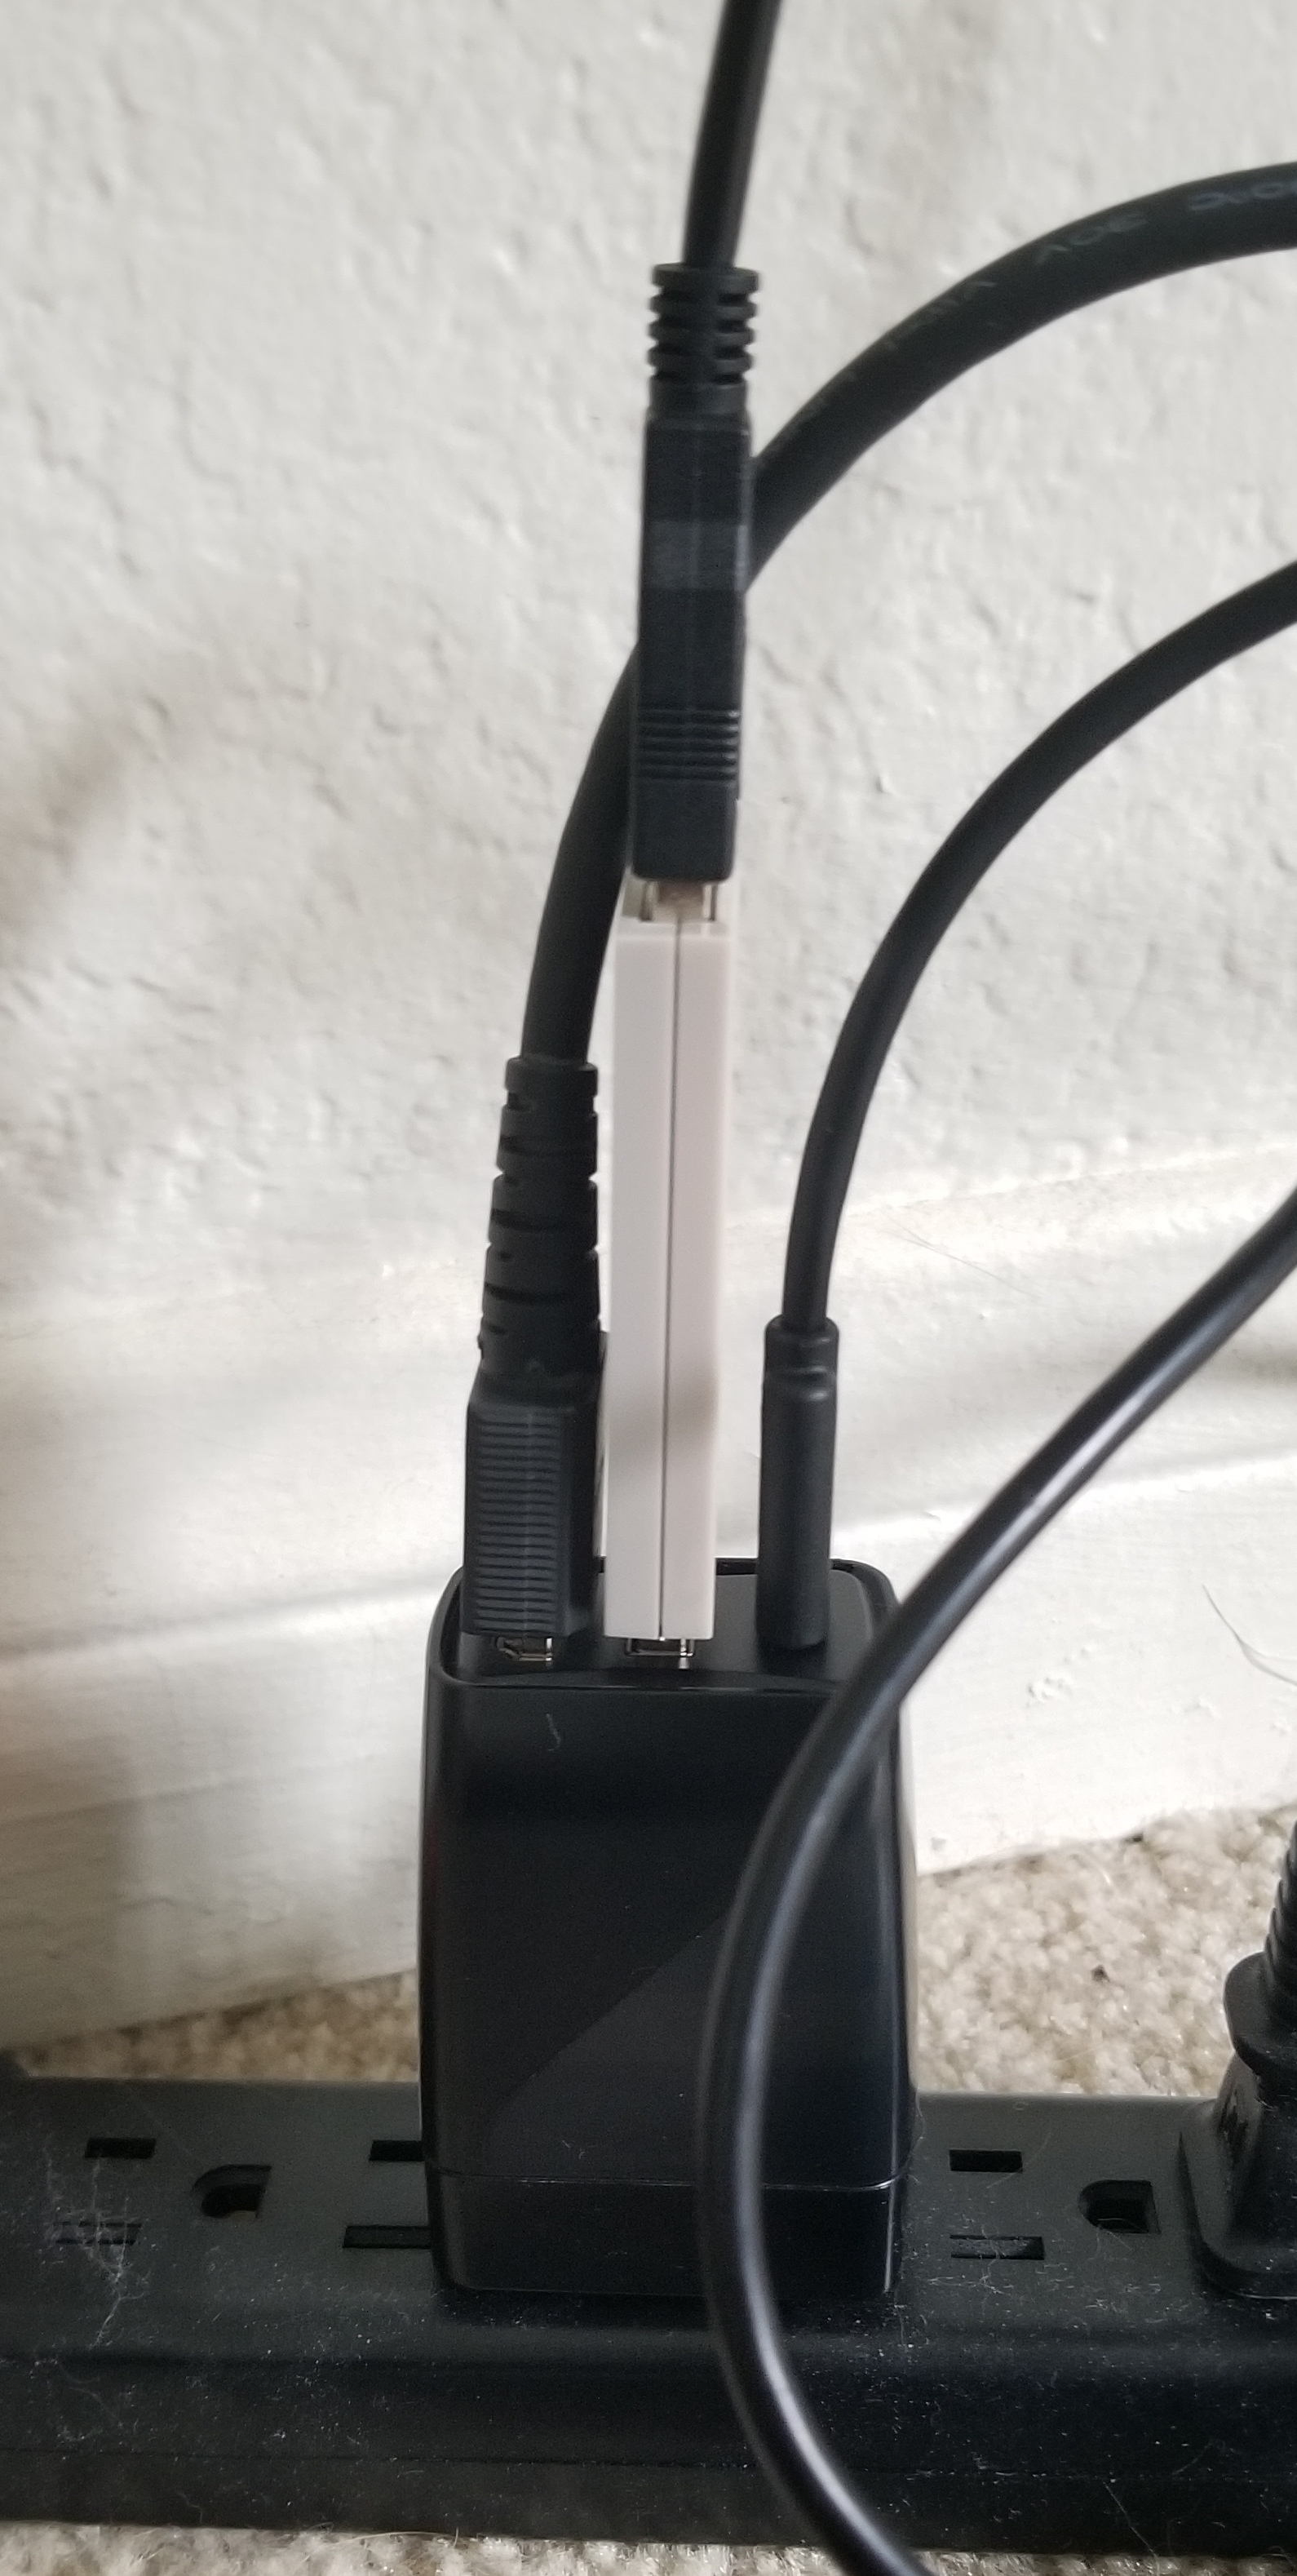
Here is a picture of the entire docked-setup together. You can see that I also made use of the Hori PlayStand for my Switch while it is “docked” to the Genki. Overall, I’m really happy with this, and it really works well from a “grab-and-go” perspective. Going from handheld to docked mode is relatively seamless!

Conclusions
Hopefully, this post was helpful in sharing the various controller/peripheral options that one can choose from for the Switch’s three playstyles. I think each style has its merits, and at the end of the day it’s all down to personal preference. I think the biggest missed-opportunity is by far handheld mode, but this also has the most opportunity for growth. I’ll update this post if any such option becomes available in the future. Thanks for reading!
January 16th, 2022 by 1regretbeetle